How to Hang a Frameless Mirror on a Door
Have you ever wished for more space in your home or wanted to brighten up a dim corner? Hanging a frameless mirror on a door can be a game-changer! Not only does it save floor and wall space, but it also creates the illusion of a larger, more open room. However, the idea of hanging a heavy mirror on a door can seem a bit daunting. Don’t worry—this guide is here to help! We’ll walk you through the entire process, from understanding the challenges to safely and securely mounting your mirror. Whether you’re a DIY newbie or a seasoned enthusiast, you’ll find everything you need to get the job done right.

Understanding the Challenges & Considerations
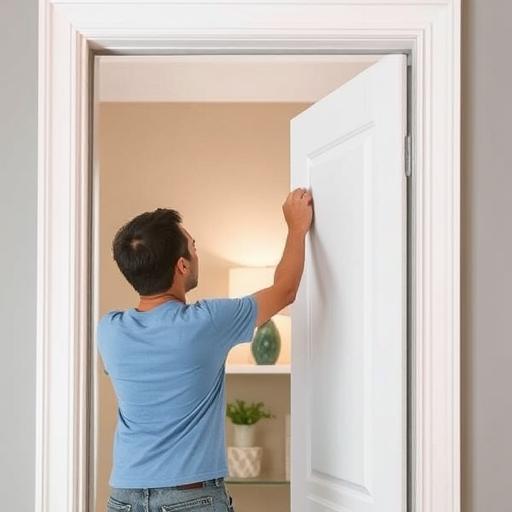
Hanging a mirror on a door isn’t the same as mounting one on a wall. Doors are designed to move, which can add stress to the mirror and its mounting hardware. Additionally, the type of door you have—whether it’s hollow core or solid core—plays a significant role in how you approach this project.
Door Type Matters: Solid Core vs. Hollow Core
Solid core doors are heavier and more durable, making them better suited for supporting mirrors. Hollow core doors, on the other hand, are lighter and have an empty interior, which means they require extra precautions. To determine your door type, knock on it—a solid core door will sound dense, while a hollow core door will have a hollow, echoing sound.
Mirror Weight & Size: Staying Within Safe Limits
Before you start, it’s crucial to know your mirror’s weight and ensure it’s within your door’s capacity. As a general rule, solid core doors can handle heavier mirrors, while hollow core doors should only support lighter ones. Always double-check the mirror’s specifications and consider reinforcing the door if necessary.
Tools & Materials You’ll Need
To hang your frameless mirror securely, you’ll need the following tools and materials:
- Frameless Mirror
- Mirror Mastic/Adhesive
- Mirror Clips (J-channel, U-channel)
- Drill & Drill Bits
- Screws
- Level
- Measuring Tape
- Pencil
- Safety Glasses
- Gloves
- (Optional) Stud Finder
- (Optional) Wood Blocking
Step-by-Step Installation Guide
Step 1: Preparing the Door Surface
Start by cleaning the door thoroughly with rubbing alcohol to ensure the surface is free of dirt and grease. Use a pencil and measuring tape to mark the desired position for the mirror. This step ensures accurate placement and a professional finish.
Step 2: Applying Mirror Mastic (Adhesive)
Apply mirror mastic in a zig-zag pattern on the back of the mirror. Avoid using too much adhesive, as it can seep out from the edges. Let the adhesive set for a few minutes to achieve the right tackiness before mounting the mirror.
Step 3: Installing Mirror Clips (Choosing the Right Method)
Mirror clips are essential for added security, especially for heavier mirrors. Decide between J-channel and U-channel clips based on your mirror’s size and weight. Position the clips evenly and secure them with screws. For hollow core doors, consider using wood blocking to reinforce the attachment points.
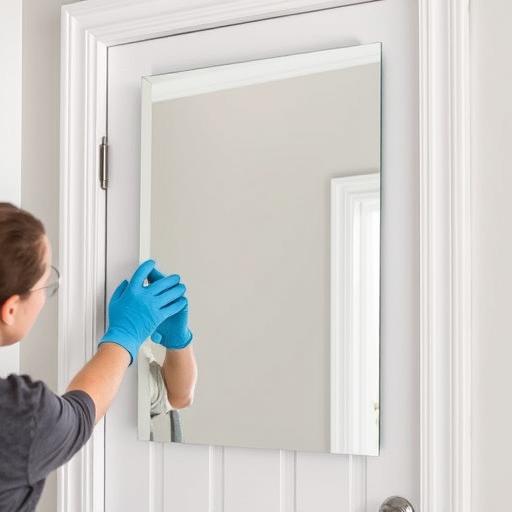
Step 4: Carefully Positioning and Securing the Mirror
Carefully lift the mirror and align it with the marked position on the door. Press firmly but gently to ensure the adhesive bonds properly. Hold the mirror in place for a few seconds, then let it rest against the clips while the adhesive cures completely. Avoid using the door until the adhesive has fully dried.
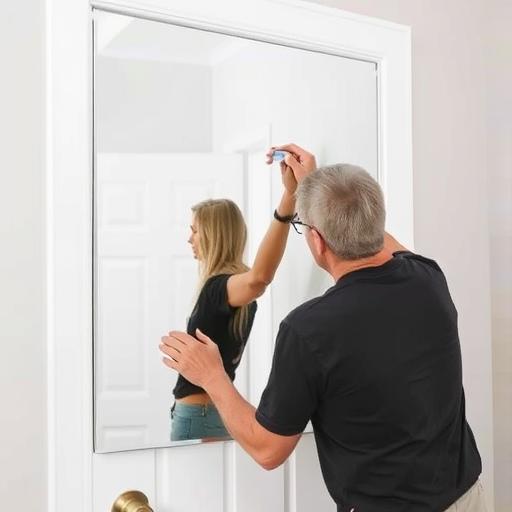
Step 5: Final Checks & Adjustments
Use a level to ensure the mirror is perfectly straight. Double-check the security of the clips and adhesive. If everything looks good, you’re all set to enjoy your new space-saving mirror!
Safety Precautions
Safety should always come first when handling heavy objects like mirrors. Wear safety glasses and gloves to protect yourself from potential injuries. Ask for help when lifting and positioning the mirror to avoid accidents. Be cautious when drilling into the door, and always ensure the mounting is secure before leaving the mirror unattended. Regularly inspect the installation for any signs of loosening, and warn others, especially children, about the new mirror’s presence.
Alternative Mounting Methods
If you’re working with a hollow core door or prefer a different approach, there are alternative mounting methods to consider. Reinforcing hollow core doors with wood blocking provides extra support. Heavy-duty mirror tape is an option for lighter mirrors but isn’t recommended for larger or heavier ones. For peace of mind, you can always hire a professional to handle the installation.
Conclusion
Hanging a frameless mirror on a door is a fantastic way to add style and functionality to your space while maximizing every inch of your home. By following this step-by-step guide, you can confidently tackle this project with ease. Remember to prioritize safety, choose the right materials, and take your time to ensure a secure installation. Now, step back and admire your handiwork—your new mirror is sure to brighten your space and elevate your home’s aesthetics!
FAQ Section
How much weight can a door typically hold with a mirror?
The weight capacity depends on the door type. Solid core doors can handle heavier mirrors, while hollow core doors have lower weight limits. Always check the manufacturer’s specifications for exact guidelines.
Can I use regular adhesive instead of mirror mastic?
No, mirror mastic is specifically formulated to be safe for mirrors and prevent damage to the reflective coating.

What if my door is hollow core?
Reinforcing the door with wood blocking is highly recommended. Keep the mirror’s weight minimal to avoid compromising the door’s structure.
How often should I check the mirror’s mounting?
Inspect the mounting every 3-6 months, or immediately if you notice any signs of loosening or movement.
What type of mirror clips are best for a frameless mirror?
Both J-channel and U-channel clips work well. J-channel clips are easier to install, while U-channel clips provide a more secure hold, especially for heavier mirrors.