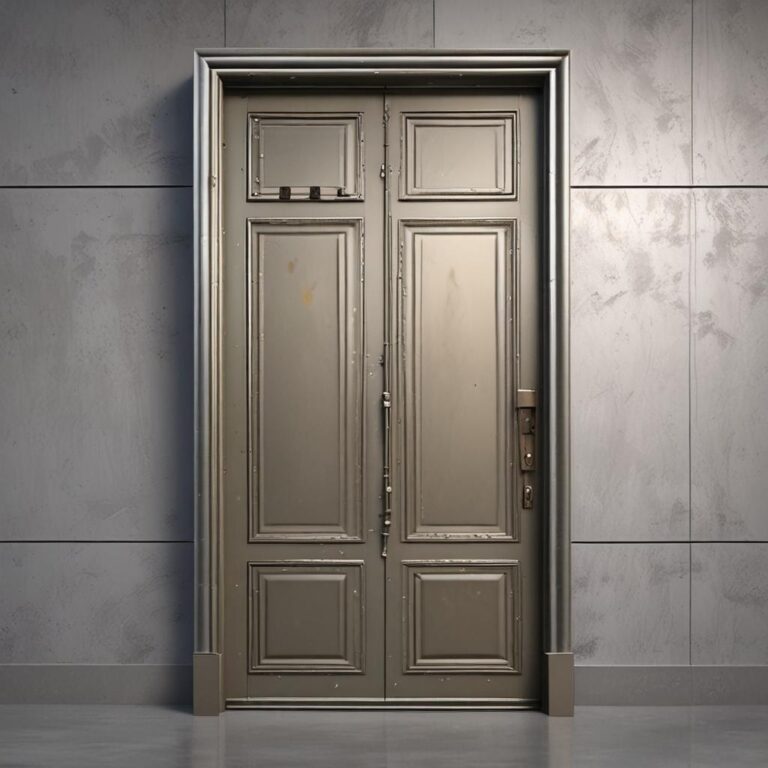
How to Install a Storm Door
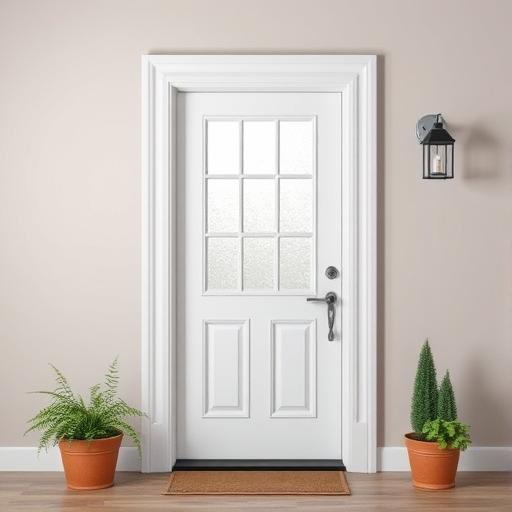
Installing a storm door is a fantastic way to enhance the energy efficiency, protection, and ventilation of your home’s entryway. A storm door acts as an additional barrier against harsh weather conditions, helping to reduce drafts and save on energy costs. Proper installation is crucial for the door’s durability and functionality, ensuring it operates smoothly and effectively for years to come. In this guide, we’ll walk you through the step-by-step process of installing a storm door, covering everything from preparation to final adjustments.
Tools and Materials Needed
To get started, gather the essential tools and materials. You’ll need a screwdriver, level, tape measure, and drill. The storm door kit will typically include the door, hinges, and hardware. Additional materials required are screws, shims, and weatherstripping. Don’t forget safety equipment like gloves and safety glasses to protect yourself during the installation process.
Measuring and Preparing Your Entryway
How to Take Accurate Door Measurements
Taking accurate measurements of your entryway is vital for a proper fit. Measure the width, height, and frame depth of the door opening. When measuring, account for any trim or siding that may affect the door’s fit. Take multiple measurements to ensure accuracy and record them for reference.
Preparing the Door Frame
Before installing the storm door, clean and inspect the existing door frame. Remove any old hardware, such as hinges or door handles, if you’re replacing an existing door. This will ensure a clean slate for your new storm door and prevent any interference with the installation.
Step-by-Step Installation Process
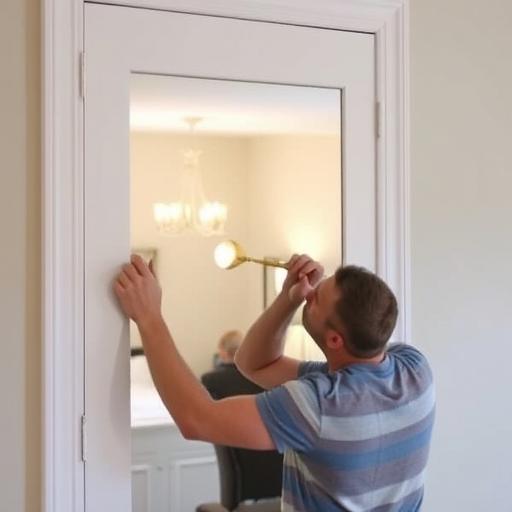
Assembling the Storm Door
Begin by assembling the storm door according to the manufacturer’s instructions. Attach the hinges, handles, and other hardware, making sure everything is securely fastened. Adjust the door to ensure it closes properly and the hardware operates smoothly.
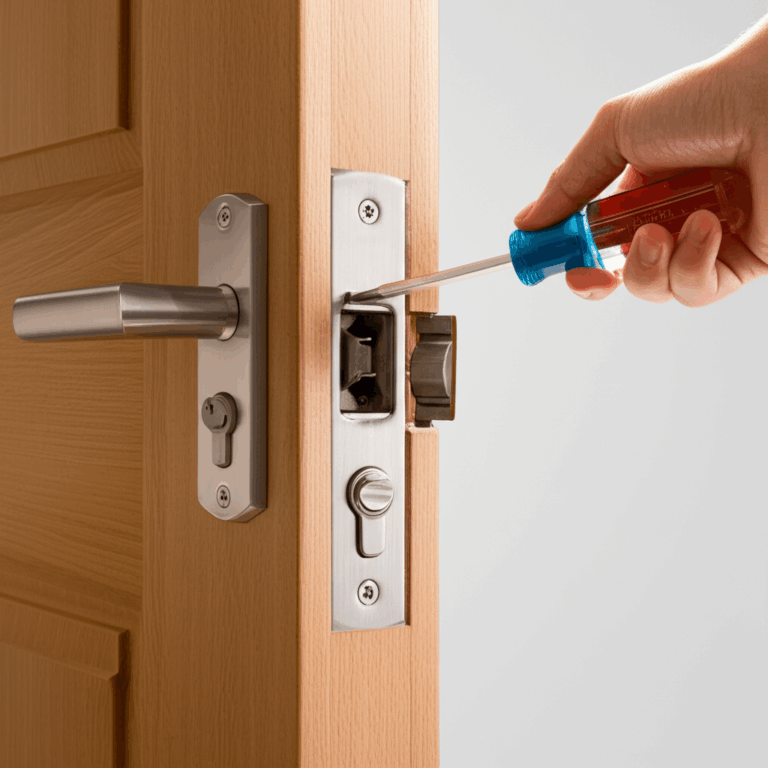
Installing Hinges and Securing the Door
Next, align the hinges with the door frame and secure the door in place. Use shims to achieve a level and plumb fit, ensuring the door hangs evenly. When screwing the hinges into place, use proper techniques to avoid warping the door or frame.
Sealing and Weatherproofing
Apply weatherstripping around the door to prevent drafts and moisture from entering. Check for any gaps between the door and frame, adjusting the shims or weatherstripping as needed to ensure a tight seal.
Testing and Final Adjustments
Test the door’s opening and closing to ensure it operates smoothly. If the door sticks or doesn’t latch properly, adjust the hinges accordingly. Verify that the door provides proper ventilation and security, making any necessary adjustments.
Maintenance Tips for Longevity
To extend the life of your storm door, regular maintenance is essential. Clean and lubricate the hinges to keep them running smoothly. Check for wear and tear on the door and hardware, replacing any damaged parts as needed. Also, inspect the weatherstripping and replace it if it becomes worn or damaged.
Conclusion
Installing a storm door is a rewarding DIY project that can enhance your home’s energy efficiency, protection, and ventilation. By following this step-by-step guide, you’ll be able to ensure a proper installation that will last for years to come. Remember to follow safety precautions and take your time to achieve a professional-looking result.
FAQ Section
1. What is the ideal gap between the storm door and the main door?
A small gap of ¼ to ½ inch is recommended for ventilation without compromising security.
2. Can I install a storm door on a warped or uneven frame?
It’s best to repair or reinforce the frame first to ensure a proper fit.
3. How do I choose the right storm door for my home?
Consider factors like material (aluminum, fiberglass, vinyl), style, and local weather conditions.
4. What should I do if the storm door doesn’t close properly?
Check hinge alignment, adjust screws, and ensure weatherstripping is intact.
5. Do I need professional help to install a storm door?
Most homeowners can DIY, but complex situations (e.g., custom frames) may require professional assistance.