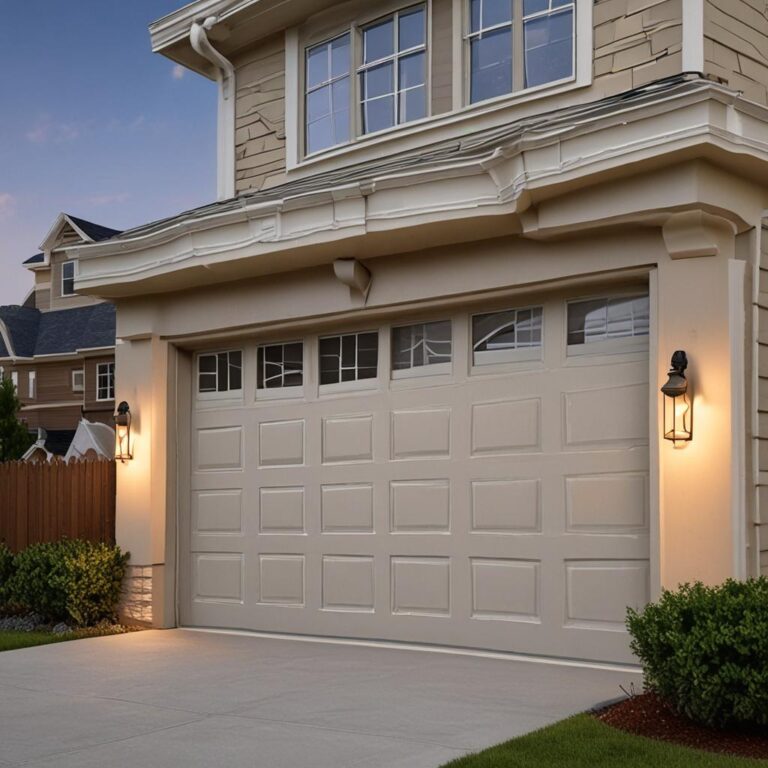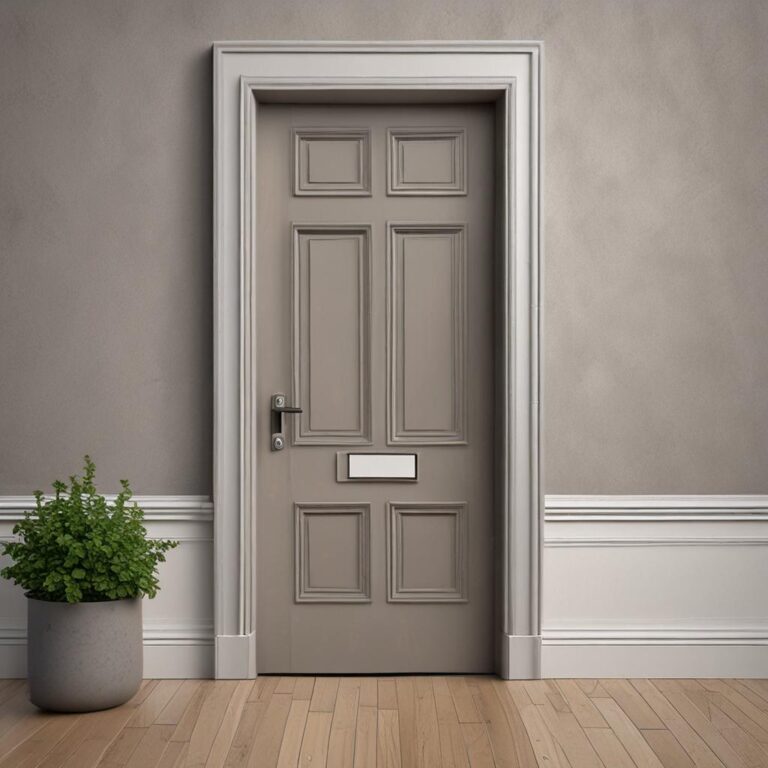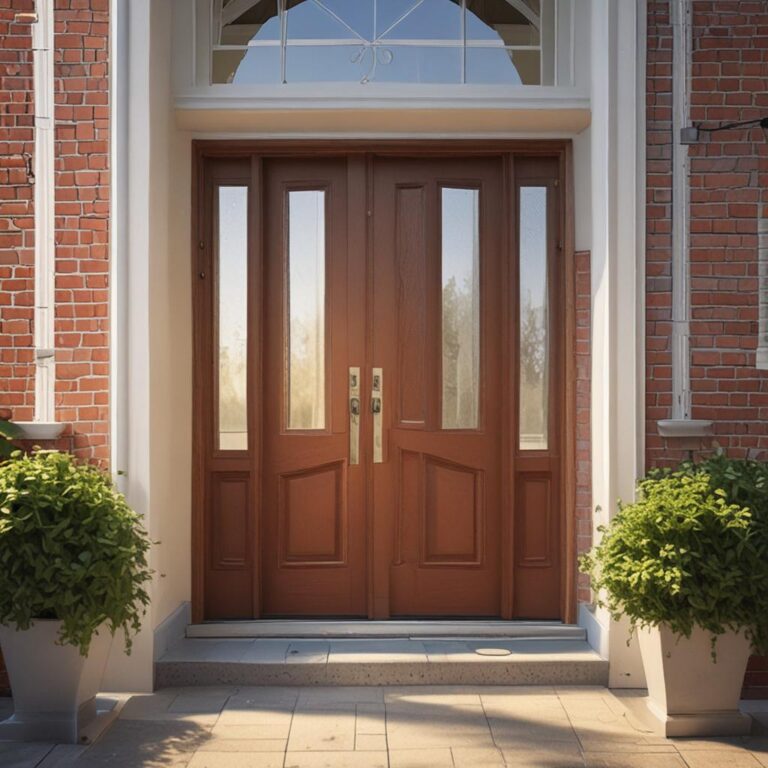
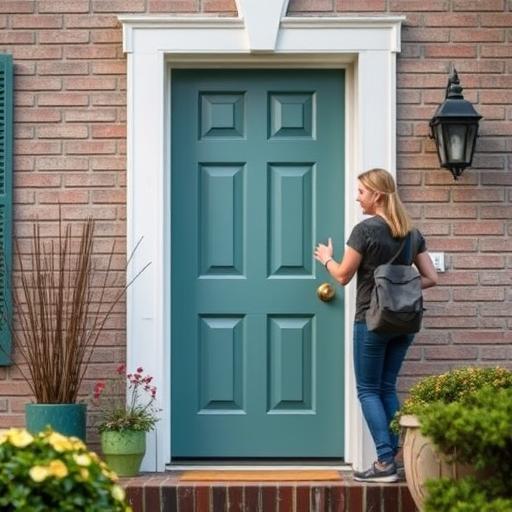
How to Paint a Front Door
Your front door is more than just an entryway—it’s the first impression your home makes. A fresh coat of paint can boost curb appeal, protect against weather damage, and reflect your personal style without breaking the bank. While it might seem daunting, painting your front door yourself is a manageable project that yields big results. By avoiding common pitfalls like skipping primer or rushing through preparation, you’ll achieve a smooth, professional finish that lasts. Let’s walk through the essential steps to transform your door into a standout feature.
Why Painting Your Front Door Matters
A well-painted front door enhances your home’s exterior, adds value, and provides a durable barrier against moisture and temperature changes. Choosing to paint it yourself saves money compared to hiring a pro and allows complete creative control. However, success depends on careful planning and technique. This guide covers everything from selecting the right tools to mastering color choices, ensuring your door looks stunning for years to come.
Essential Tools and Materials for Painting a Front Door
Before starting, gather the right supplies. You’ll need sandpaper (coarse and fine grit), a paintbrush (angled for edges), a small roller for broader areas, painter’s tape, drop cloths, and a mildew-resistant primer. Select paint based on your door’s material: latex is ideal for wood and fiberglass, while oil-based or metal-specific paints work best for steel. For a polished look, choose a semi-gloss or satin finish, which resists dirt and wear better than matte options.
Safety Precautions and Workspace Setup
Protect yourself and your surroundings. Wear gloves, goggles, and a mask when sanding or using chemicals. Work in a well-ventilated area, opening windows or using fans to circulate air. Cover the floor with drop cloths to catch drips, and apply painter’s tape to adjacent surfaces like walls, window frames, or sidings. If working indoors, prop the door upright against a wall or lay it flat on a clean, level surface for stability.
Removing Hardware and Cleaning the Door
Start by detaching hinges, handles, and knockers using a screwdriver or wrench. Place them in a labeled bag to avoid confusion during reassembly. Cleaning is crucial: for wood, use a mild detergent to remove grime; metal doors may need a degreaser to eliminate rust or wax. Fiberglass is easy to clean with soap and water. After cleaning, rinse with a damp cloth and let the door dry completely before proceeding.
Sanding for a Smooth, Durable Finish
Sanding ensures the paint adheres properly. For rough spots or old, flaking paint, begin with 80- to 120-grit sandpaper, then switch to 220-grit for a smooth surface. Sand in the direction of the wood grain if applicable, and use a sanding block to avoid uneven pressure. Once done, wipe the door with a slightly damp cloth to remove dust, then let it dry. This step is especially vital for previously painted doors to avoid peeling.
Applying Primer: The Secret to Long-Lasting Paint
Primer is non-negotiable. It seals the surface, prevents stains from bleeding through, and helps paint dry evenly. Apply it with a brush for edges and a roller for larger areas, using thin, even coats. If your door is wooden, use a stain-blocking primer. Metal doors need a rust-inhibiting primer, while fiberglass can use a general-purpose formula. Allow the primer to dry fully—usually 24 hours—before painting.
Painting the Door: Techniques for a Professional Look
Begin by “cutting in” the edges with an angled brush for clean lines, then fill in the center with a roller. Apply two to three coats of paint, letting each dry for 4–6 hours. Use a high-quality brush to minimize streaks and avoid overloading it with paint to prevent drips. Work in natural light if possible, and pause to address any missed spots or bubbles before the paint sets.
Finishing Touches and Cleanup
Once the paint dries, reattach the hardware. If it’s rusty or chipped, repaint it with matching paint for a cohesive look. Don’t forget the doorframe and surrounding trim—use a small brush for intricate areas. Clean tools immediately after use with soap and water for latex paint or mineral spirits for oil-based. Store leftover paint in a cool, dry place for touch-ups.
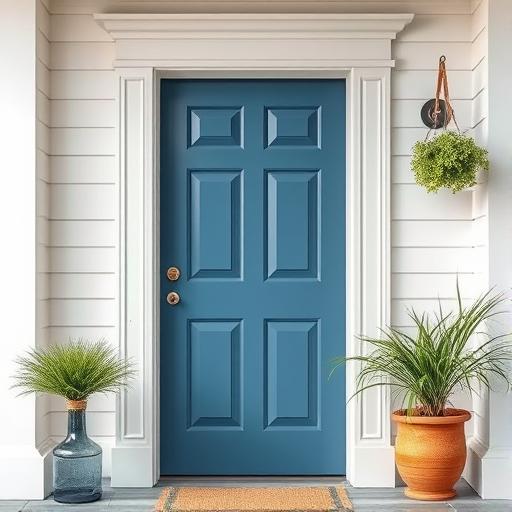
Choosing the Right Paint and Color for Your Front Door
Paint Types and Their Pros/Cons
Latex paint is user-friendly and dries quickly, perfect for most materials. Oil-based offers a harder finish but requires longer drying times and solvents. Shellac-based is excellent for covering stains but less common. For high-traffic areas, semi-gloss is your best bet for durability and easy cleaning.
Color Selection: Matching Your Home’s Aesthetic
Opt for a color that complements your siding, roof, and landscaping. Bold shades like navy or deep red make a statement, while neutral tones like sage or gray offer timeless appeal. Use online home design tools or paint sample cards to test how a color looks in different light. Consider local trends—many regions favor dark, rich tones for a modern edge.
Maintenance Tips to Keep Your Front Door Looking Fresh
Regular maintenance extends the life of your paint. Clean wood doors with a soft cloth and mild soap, while metal doors benefit from a quick wipe with a damp cloth. Address chips or scratches by sanding the area and applying a primer-paint touch-up. Repaint every 5–7 years, or sooner if you notice peeling or fading, especially in harsh climates.
Conclusion: Transform Your Home’s Entrance with Confidence
Painting your front door is a rewarding DIY project that combines practicality and style. By preparing properly, priming diligently, and choosing the right tools and colors, you’ll achieve a finish that’s both beautiful and long-lasting. Don’t let the task intimidate you—your efforts will pay off with a welcoming entrance that elevates your home’s exterior. Try these steps, and feel free to share your before-and-after photos for inspiration!
FAQ: Common Questions About Painting a Front Door
Can I use the same paint for the door and trim?
While possible, trim paint is formulated for durability on edges and intricate details. Use a high-quality exterior paint for the door and a semi-gloss trim paint for surrounding areas.
How long should I wait between primer and paint coats?
Aim for 24 hours of drying time for primer. Between paint coats, wait 4–6 hours to ensure the previous layer is fully dry and ready for the next.
Is it necessary to remove the door entirely?
It’s optional. For easier access, lay the door flat on a sawhorse or remove it. If leaving it on hinges, prop it open with painter’s clips and work carefully around the frame.
What’s the best way to paint a door with glass panels?
Use painter’s tape to mask off glass sections, ensuring sharp lines. For smooth surfaces, use a mini roller or foam brush to avoid streaks and drips.
How do I fix peeling paint on my front door?
Scrape off loose paint with a putty knife, sand the area, apply primer, and repaint. For extensive peeling, consider stripping the entire surface before starting anew.