Best Way To Sand Concrete Floor
Sanding a concrete floor is a crucial step in achieving a smooth, polished surface that’s ready for coatings or simply looks great on its own. Whether you’re preparing the floor for epoxy, enhancing its appearance, or removing imperfections, proper sanding ensures long-lasting results. However, this process comes with its challenges, such as managing dust, avoiding over-sanding, and using the right tools. Avoiding mistakes is key, as improper techniques can damage the floor or reduce its durability. This guide will walk you through the best way to sand a concrete floor for professional-grade results.
Preparation for Sanding a Concrete Floor
Gather the Right Tools and Materials
To get started, you’ll need the right tools and materials. Essential items include a concrete grinder, sandpaper or diamond abrasives, a heavy-duty vacuum, and safety gear like goggles, gloves, and a respirator. Choose abrasives designed for concrete, such as diamond-coated pads or silicon carbide sandpaper, to ensure effective sanding without damaging the surface.
Inspect the Concrete Surface
Before sanding, inspect the floor for cracks, uneven areas, or existing coatings. Cracks may need filling, and old coatings must be removed to ensure the sanding process is even and effective. Identifying these issues early will save you time and effort later.
Clean the Floor Thoroughly
A clean surface is essential for effective sanding. Remove all dust, debris, grease, and oil using a degreaser or concrete cleaner. Any residue left on the floor can interfere with the sanding process and affect the final finish.
Safety Precautions
Sanding concrete generates a significant amount of dust, so safety is paramount. Wear protective gear, including safety goggles, a dust mask or respirator, and gloves. Ensure the area is well-ventilated, and consider using a dust extraction system to minimize airborne particles.
Step-by-Step Guide to Sanding Concrete Floors
Choose the Right Grit Sequence
Start with a coarse grit (e.g., 40-60) to remove imperfections and level the surface. Gradually move to medium grit (e.g., 80-120) and finish with a fine grit (e.g., 200-400) for a smooth, polished result. This sequence ensures a consistent and professional finish.
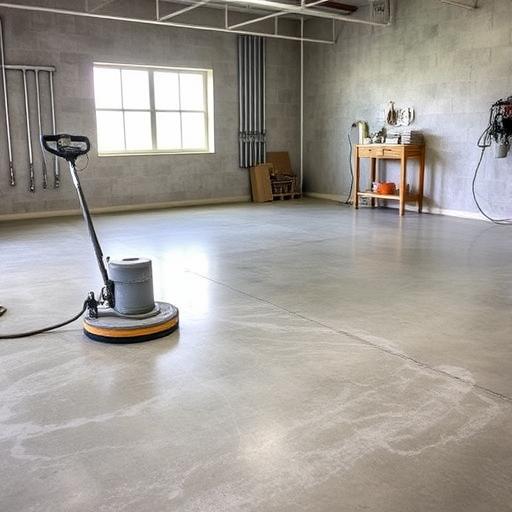
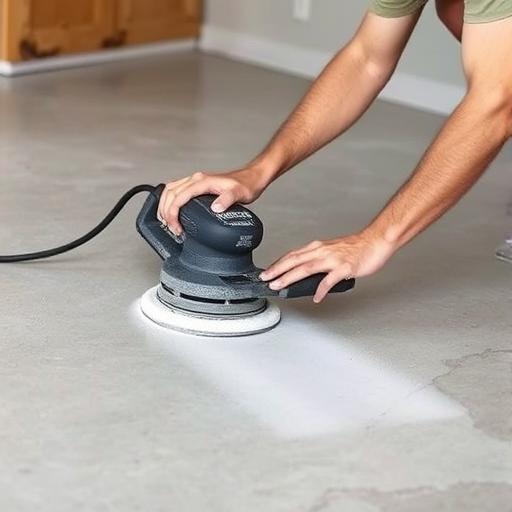
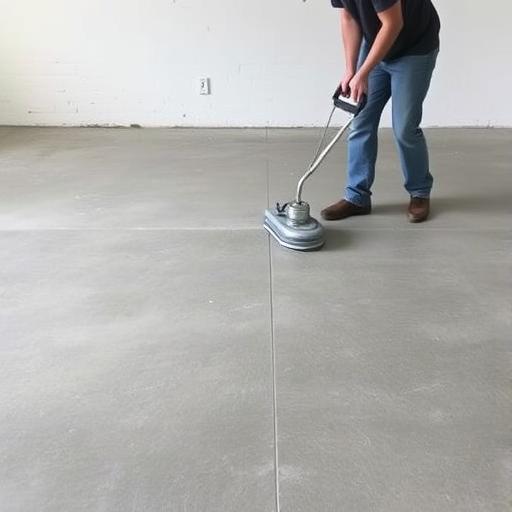
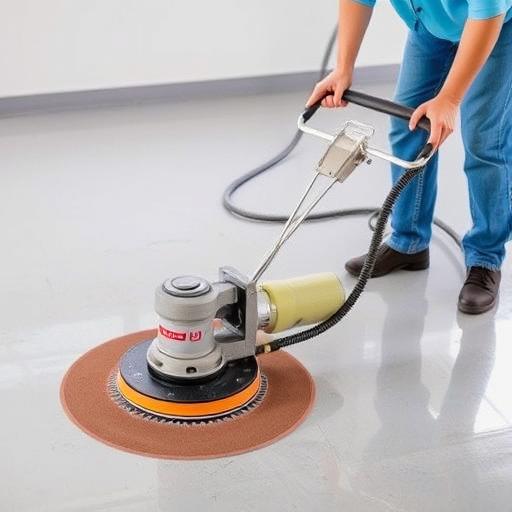
Begin Sanding with a Concrete Grinder
Attach the appropriate abrasive pad to your concrete grinder and start sanding. Work in slow, even passes, overlapping each pass slightly to avoid uneven spots. Keep the grinder moving to prevent gouging the surface.
Address Uneven Areas and Stains
Focus on high spots, stains, or rough patches by adjusting the pressure or using a coarser grit. For stubborn stains, apply a concrete cleaner or stain remover before sanding to make the process easier.
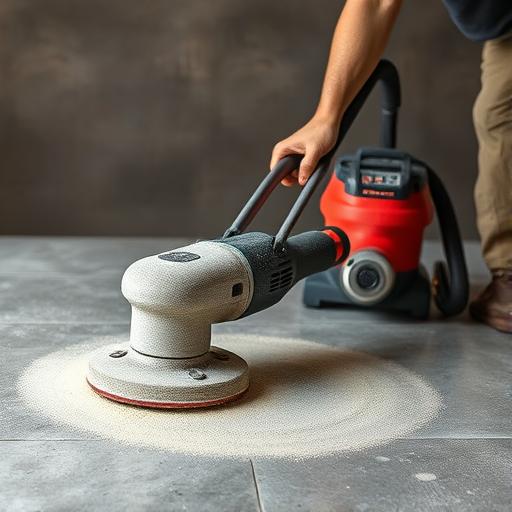
Dust Management
Use a vacuum or dust extraction system to keep the area clean and reduce airborne particles. Regular cleaning during the sanding process ensures a smoother finish and protects your health.
Final Sanding and Smoothing
Finish with a fine-grit abrasive to achieve a polished, smooth surface. This step removes any remaining scratches and ensures the floor is ready for sealing or coating.
Post-Sanding Steps
Clean the Floor Again
After sanding, thoroughly clean the floor to remove all dust and debris. Use a vacuum and a damp mop to ensure the surface is spotless before applying any coatings.
Inspect the Surface for Perfection
Check the floor for missed spots or areas that need additional sanding. A thorough inspection ensures a consistent finish and avoids issues later.
Apply a Sealer or Coating
Sealing the floor protects it from stains, moisture, and wear. Apply a concrete sealer or coating according to the manufacturer’s instructions to enhance its durability and appearance.
Tips for Achieving the Best Results
Work in Sections
Divide the floor into small sections and sand them one at a time. This approach ensures consistency and makes the process more manageable.
Avoid Over-Sanding
Removing too much material can weaken the floor. Use moderate pressure and follow the grit sequence to achieve the desired finish without compromising the floor’s integrity.
Use Quality Equipment
Invest in reliable tools and abrasives for better results. High-quality equipment is more efficient and reduces the risk of damaging the floor.
Consider Professional Help for Large Projects
For extensive or complex jobs, hiring a professional can save time and ensure a flawless finish. They have the expertise and equipment to handle challenging surfaces.
Frequently Asked Questions (FAQ)
Can you sand concrete floors by hand?
While possible, sanding by hand is time-consuming and less effective than using power tools. A concrete grinder provides faster, more consistent results.
What grit sandpaper should I use for concrete floors?
Start with a coarse grit (40-60) to remove imperfections, then progress to medium (80-120) and fine grit (200-400) for a smooth finish.
How do I remove deep stains before sanding?
Use a concrete cleaner or stain remover as a pre-treatment. This helps break down the stain and makes it easier to sand away.
Is it necessary to seal the floor after sanding?
Yes, sealing protects the floor from damage and enhances its appearance. It also improves durability and makes the surface easier to clean.
Can I sand a painted concrete floor?
Yes, but you’ll need to remove the paint first using a paint stripper or grinder. Sanding over paint can clog the abrasive and reduce effectiveness.
Conclusion
Sanding a concrete floor is a detailed process that requires the right tools, techniques, and patience. By following the steps outlined in this guide—from preparation to post-sanding care—you can achieve a smooth, professional finish. Remember to prioritize safety, work methodically, and invest in quality equipment. With attention to detail, your concrete floor will look stunning and stand the test of time.