How to Align Garage Door Sensors
Garage door sensors play a crucial role in ensuring the safety and functionality of your garage door. These small devices are designed to detect obstructions and prevent the door from closing on people, pets, or objects, reducing the risk of accidents. However, when sensors become misaligned, they can cause frustrating issues like the door reversing mid-close or failing to operate altogether. Proper alignment is essential for smooth operation and peace of mind. In this guide, we’ll walk you through a step-by-step process to align your garage door sensors, making it an easy DIY task for homeowners.
Understanding Garage Door Sensors and Their Importance
What Are Garage Door Sensors and How Do They Work?
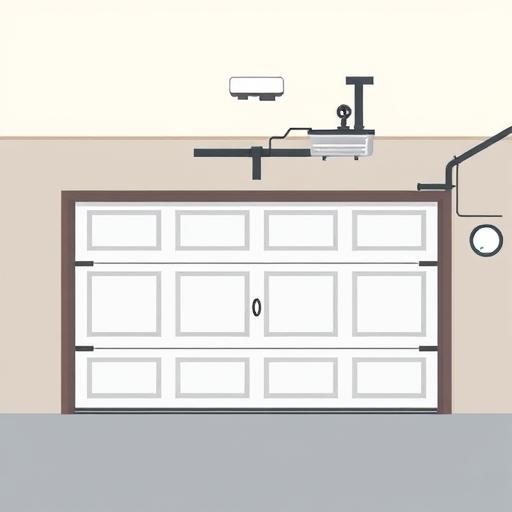
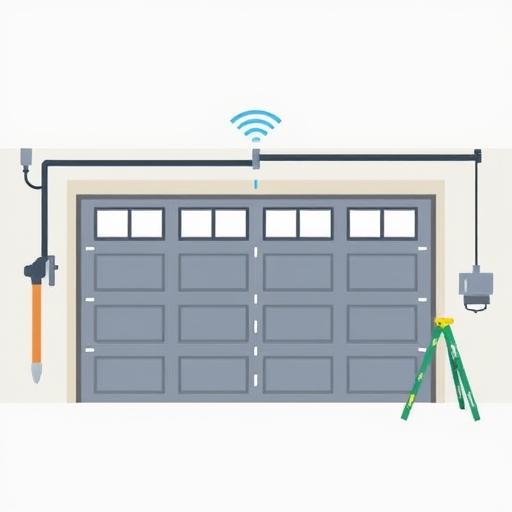
Garage door sensors consist of two units installed on either side of the door, typically 6–8 inches above the ground. They use an infrared beam to communicate with each other. If the beam is interrupted by an obstruction, the sensors signal the garage door opener to stop or reverse the door’s movement. This safety feature is mandated by law to prevent accidents and ensure reliable operation.
Common Issues from Misaligned Sensors
Misalignment can occur due to vibrations, accidental bumps, or changes in the door’s structure. Common symptoms include the door reversing during closing, not closing at all, or displaying false obstruction warnings. Ignoring these issues can compromise safety and lead to further damage to your garage door system.
Preparing to Align Your Garage Door Sensors
Tools and Safety Gear You’ll Need
Before starting, gather the necessary tools: a screwdriver, a sturdy ladder, a flashlight, and optionally, a level. Safety is paramount—turn off the power to the garage door opener and wear gloves to protect your hands during the process.
Checking the Manual for Your Specific Garage Door Model
Different garage door opener brands (e.g., Chamberlain, Genie, LiftMaster) may have unique sensor systems or alignment methods. Consult your manual for brand-specific instructions, including error codes or indicator lights that signal misalignment.
Inspecting Sensors for Damage or Obstructions
Visually inspect the sensors for cracks, dirt, or debris that could interfere with the infrared beam. Clean the sensors with a soft cloth and ensure the beam’s path is clear of any obstructions.
Setting the Force Control
Step-by-Step Guide to Aligning Garage Door Sensors
Accessing the Sensors and Positioning the Ladder
Locate the sensors near the base of the garage door, one on each side. Place your ladder securely and ensure the door is manually closed to avoid accidents during alignment.
Adjusting the Sensor Height and Angle
Align the sensors to the same height, typically 6–8 inches above the ground. Angle them toward each other so the infrared beam can pass uninterrupted. Use a level to ensure they are parallel if needed.
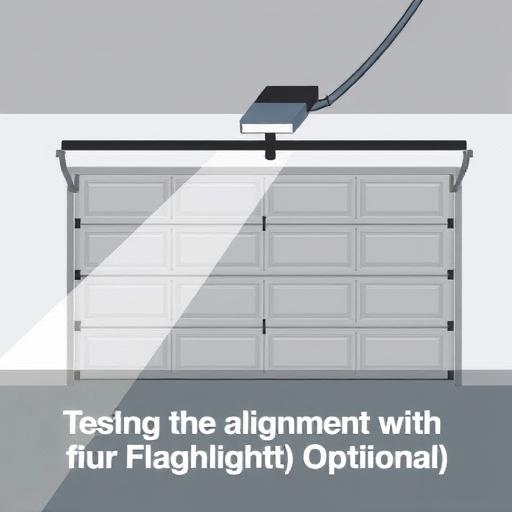
Testing the Alignment with a Flashlight (Optional)
Shine a flashlight through the sensors to check if the beam is unbroken. This step helps confirm alignment before restoring power to the opener.
Reconnecting the Opener and Testing the Door
Restore power to the garage door opener and test the door’s open/close cycle. If the door operates smoothly, the sensors are properly aligned.
Fine-Tuning and Final Checks
If the door still malfunctions, make slight adjustments to the sensors and repeat testing until the issue is resolved. Ensure the sensors remain securely in place after alignment.
Troubleshooting Tips for Common Sensor Alignment Issues
What to Do If the Door Still Won’t Close
Check for debris or obstructions in the beam path and ensure the sensors are plugged in. Verify that the opener’s force settings are correctly configured.
Dealing with Flickering or Red/Amber Lights on the Sensors
Flickering or red/amber lights often indicate misalignment. Reset the sensors and realign them carefully, following the steps above.

When to Call a Professional
If DIY methods fail or you suspect sensor damage or wiring issues, contact a professional. Annual maintenance can save time and money while ensuring long-term reliability.
Maintaining Proper Sensor Alignment Over Time
Regular Checks and Preventative Care
Schedule monthly inspections to check for dust, dirt, or minor shifts in alignment. In extreme weather conditions, use weather-resistant covers to protect the sensors.
Adjustments After Garage Door Repairs or Replacements
After repairing or replacing garage door components like springs or tracks, realign the sensors to ensure proper functionality. Avoid overloading the door, which can cause misalignment.
Conclusion
Properly aligned garage door sensors are essential for safety and smooth operation. By following this guide, you can easily address misalignment issues and maintain your garage door system. Regular checks and timely adjustments can prevent accidents and extend the life of your sensors. If you encounter persistent problems, don’t hesitate to seek professional assistance. Remember to test your door after any weather event or structural changes to ensure everything is working as it should.
How to Install and Align Photoelectric Sensors on a Logic 5 0 Commercial Door Operator
Frequently Asked Questions (FAQ)
How often should I check my garage door sensor alignment?
- We recommend monthly checks, especially after storms or adjustments to the door.
Can I align garage door sensors without a manual?
- Yes, general guidelines work, but manuals provide brand-specific instructions for best results.
Why are my garage door sensors still misaligned after following steps?
- Possible causes include damaged sensors, incorrect height, or environmental interference like sunlight or debris.
How do I know if my sensors are the problem or the opener?
- Test the opener manually and check sensor lights for diagnostics. If the opener works but the sensors don’t, the sensors may be the issue.
Are garage door sensors the same for all door types?
- Most sensors use infrared beams, but alignment methods may vary by opener model. Always consult your manual for specific details.