How to Clean Painted Walls
Painted walls are a key element of any home’s aesthetic, but over time, they can accumulate dirt, stains, and scuff marks that dull their appearance. Regular cleaning is essential not only to maintain their beauty but also to extend the life of the paint, saving you from costly repainting jobs. However, cleaning painted walls requires care and the right techniques to avoid damaging the finish. This guide will walk you through everything you need to know, from essential tools to step-by-step cleaning methods and maintenance tips, ensuring your walls stay fresh and vibrant for years to come.

Step-by-Step Process
Gather Supplies
Collect mild detergent, warm water, sponge, and microfiber cloth.
Prep the Surface
Remove dust and debris with a dry cloth or vacuum.
Test Cleaning Solution
Apply solution to a small area to check for damage.
Wipe Gently
Use a damp sponge to clean walls in sections.
Dry Thoroughly
Buff with a dry microfiber cloth to prevent streaks.
Process infographic for How to Clean Painted Walls
Essential Tools and Safety Precautions for Cleaning Painted Walls
Tools You’ll Need
To clean painted walls effectively, gather the following tools: microfiber cloths, sponges, soft brushes, pH-neutral cleaners, mild dish soap, buckets, and clean water. For tougher jobs, optional tools like a steam cleaner or protective gloves can be helpful. Having the right supplies ensures you can tackle dirt and stains without harming the paint.
Safety First
Safety is crucial when cleaning painted walls. Always ensure proper ventilation in the room, especially when using cleaning solutions. Wear gloves to protect your skin, and test any cleaner on a small, inconspicuous area first to avoid damage. Avoid harsh chemicals like bleach or abrasive scrubbers, as they can strip or discolor the paint.
Step-by-Step Guide to Cleaning Painted Walls
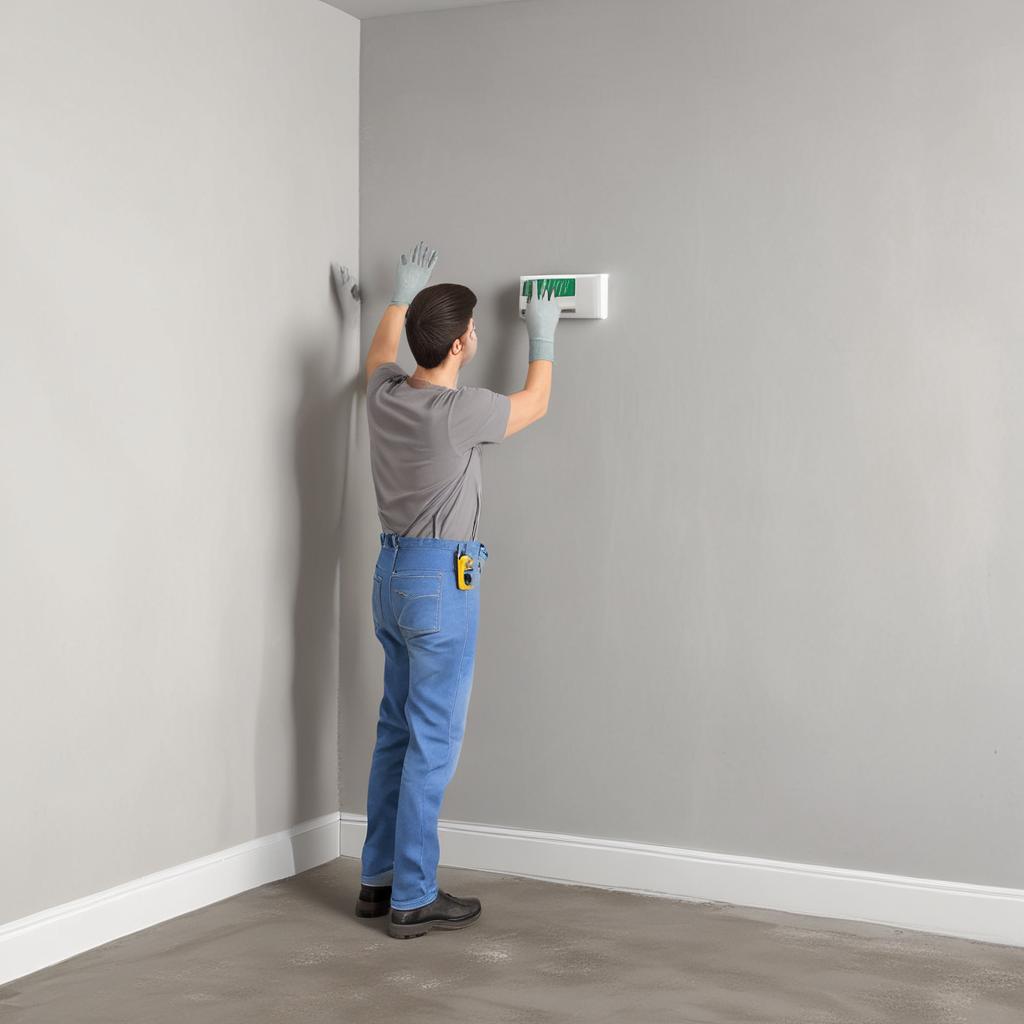
Removing Everyday Dirt and Dust
Start by dry dusting the walls with a lint-free cloth or a duster to remove loose dirt. For a deeper clean, use a slightly damp sponge or microfiber cloth. Regular dusting every 3–6 months prevents buildup and keeps your walls looking fresh.
Tackling Water-Based Stains
For stains like ink, crayon, or marker, use a mixture of warm water and mild dish soap. Gently blot the stain instead of scrubbing to avoid damaging the paint. If the stain persists, try a specialized cleaner designed for painted surfaces.
Dealing with Oil-Based Stains
Grease, food splatters, or sticky residues require a slightly stronger approach. Use mild dish soap or a commercial degreaser with a soft brush or sponge. Apply gentle pressure to lift the stain without scrubbing too hard.
Addressing Water Stains and Spots
Mineral deposits or water rings can be removed with a vinegar-water solution. Dampen a cloth with the mixture, gently press it onto the stain, and let it sit for a few minutes before wiping clean. Prevent future stains by fixing leaks and controlling humidity.
Removing Mold and Mildew
For mold or mildew, use a diluted bleach solution or an eco-friendly mold remover. Apply the cleaner with a sponge, scrub gently, and ensure the area is well-ventilated. Dry the wall thoroughly after cleaning to prevent regrowth.
Special Considerations for Different Paint Types
Latex Paint (Water-Based)
Latex paint is durable but sensitive to acidic cleaners. Use pH-neutral solutions and avoid excessive water to prevent damage to the finish.
Oil Paint (Oil-Based)
Oil-based paints are more resistant to moisture but can streak if cleaned improperly. Use mild soap and water, and avoid abrasive tools.
Matte vs. Glossy Finishes
Matte finishes are more prone to marks and require gentle cleaning with a dry or slightly damp cloth. Glossy finishes can handle more moisture but may show streaks, so use a lint-free cloth for polishing.
Post-Cleaning Maintenance Tips
Drying the Walls
After cleaning, use a dry cloth to remove any moisture and prevent water spots. Proper drying ensures the paint remains intact and vibrant.
Touch-Up Techniques
For minor scuffs or damage, use touch-up paint to repair the affected area. This keeps your walls looking flawless between cleanings.
Preventative Measures
Regular dusting, using wall protectors in high-traffic areas, and controlling humidity levels can reduce the need for frequent deep cleaning.

Common Mistakes to Avoid
Avoid using abrasive materials like steel wool, which can scratch the paint. Over-saturating walls with water can cause peeling, and ignoring manufacturer instructions may lead to irreversible damage. Always follow best practices to protect your walls.
When to Seek Professional Help
If stains are severe, paint is peeling, or DIY methods aren’t effective, it’s time to call a professional. They can assess the situation and recommend solutions, including repainting if necessary.
Conclusion
Cleaning painted walls doesn’t have to be daunting. With the right tools, techniques, and care, you can maintain their beauty and longevity. Regular maintenance and proactive measures will keep your walls looking pristine, ensuring your home remains a welcoming and vibrant space.
FAQ Section
Can I use vinegar to clean painted walls?
Vinegar is safe for minor stains but avoid using it on glossy or oil-based paints without testing first.
Is it okay to use a steam cleaner on painted walls?
Use cautiously; steam can help with stains but may damage finishes if overused.
How do I remove crayon marks from my child’s painted walls?
Use a dry-erase board over paint, or gently scrape off excess with a plastic putty knife and wipe with a warm, soapy cloth.
What should I do if the paint peels after cleaning?
Apply a water-based primer and repaint the affected area.
How often should I clean my painted walls?
Every 3–6 months for regular maintenance, or more often in high-traffic areas.