How to Clean Shower Door with Protective Coating
Maintaining a sparkling clean shower door can feel like a never-ending battle against water spots, soap scum, and mineral buildup. Shower doors with protective coatings offer a fantastic solution by repelling these unsightly issues. However, cleaning these coated surfaces requires a delicate touch to avoid damaging the protective layer. This blog post provides you with safe and effective methods to keep your shower door looking its best without compromising its protective qualities.
Understanding Protective Coatings on Shower Doors
What is a Protective Coating?
Protective coatings, often referred to as nano-coatings or hydrophobic layers, are thin films applied to shower doors to enhance their resistance to water and grime. These coatings create a barrier that prevents water from clinging to the glass, reducing the formation of water spots, soap scum, and mineral deposits. They effectively make the surface water-repellent and much easier to clean.
Types of Protective Coatings
Several types of protective coatings are available, including glass sealants, ceramic coatings, and silicone-based coatings. Glass sealants are generally the most affordable and easiest to apply, offering basic protection. Ceramic coatings are known for their durability and long-lasting water repellency. Silicone-based coatings provide a flexible and water-resistant barrier. Each type differs in its lifespan and specific maintenance requirements.
Benefits of Protective Coatings
Protective coatings offer numerous benefits. They make cleaning significantly easier and faster, as grime doesn’t adhere as strongly. They enhance the clarity of the glass by preventing water spots and buildup, giving your shower a pristine look. Furthermore, these coatings can extend the lifespan of your shower door by protecting it from corrosion and etching caused by hard water.
Preparing to Clean a Shower Door with Protective Coating
Gather the Right Supplies
Using the appropriate cleaning supplies is crucial for maintaining the integrity of the protective coating. Gather microfiber cloths, which are gentle and won’t scratch the surface. A mild detergent diluted with distilled water provides an effective and safe cleaning solution. Choose non-abrasive cleaners specifically formulated for coated surfaces. Avoid harsh chemicals and abrasive tools.
Read the Manufacturer’s Guidelines
Before cleaning, always check the manufacturer’s guidelines for your specific shower door and coating. These guidelines will provide crucial information on recommended cleaning products and methods. Using incompatible cleaning methods can damage the coating, potentially voiding any warranties. Adhering to the manufacturer’s instructions ensures you maintain the coating properly.
Step-by-Step Guide to Cleaning a Shower Door with Protective Coating
Step 1: Remove Loose Debris
Begin by wiping down the shower door with a dry microfiber cloth to remove any loose dust, hair, or other particles. This prevents these particles from scratching the coating during the cleaning process. A clean, dry surface is the ideal starting point for effective cleaning.
Step 2: Prep the Cleaning Solution
Prepare a gentle cleaning solution by mixing a small amount of mild detergent with warm water. Ensure the detergent is pH-neutral and free from harsh chemicals or abrasives. Avoid using acidic solutions like vinegar, as these can degrade the protective coating over time. A diluted solution minimizes the risk of damage.
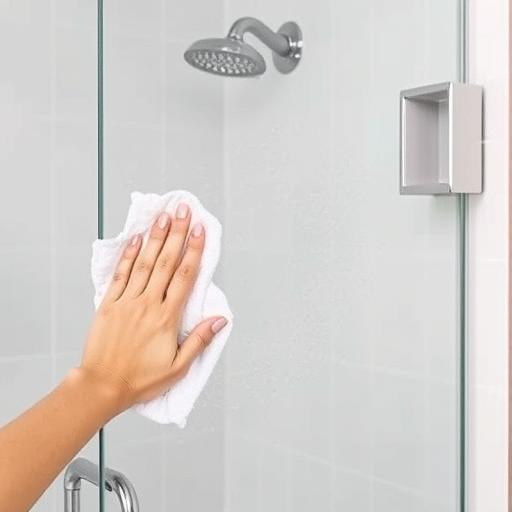
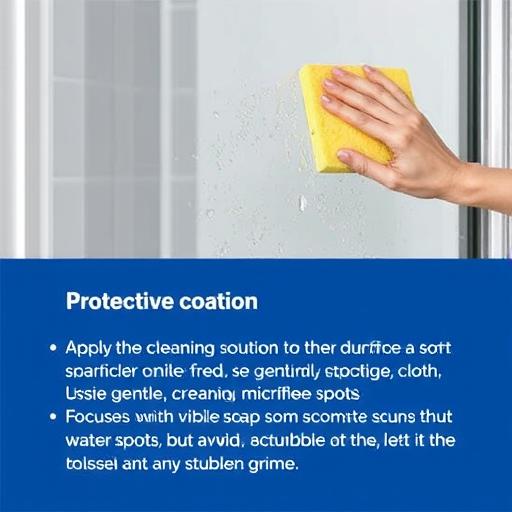
Step 3: Clean the Door Surface
Apply the cleaning solution to the door surface using a soft sponge or a clean microfiber cloth. Use gentle, circular motions to avoid scratching or damaging the coating. Focus on areas with visible soap scum or water spots, but avoid excessive scrubbing. Let the solution sit for a minute or two to loosen any stubborn grime.
Step 4: Rinse Thoroughly
Rinse the shower door thoroughly with distilled water. Distilled water is preferred over tap water because it is free from minerals that can cause water spots. Ensure all traces of the cleaning solution are removed. A thorough rinse is essential for a streak-free finish.
Step 5: Dry the Door
Use a clean, dry, and lint-free microfiber cloth to dry the shower door completely. Drying the surface immediately after rinsing prevents water spots from forming. Wipe in smooth, overlapping strokes to ensure a spotless, streak-free finish. This step is critical for showcasing the benefits of the protective coating.
Maintaining the Protective Coating
Regular Cleaning Schedule
Establish a regular cleaning schedule to maintain the coating’s effectiveness and keep your shower door looking pristine. A weekly cleaning routine is generally sufficient for most households. Regular cleaning prevents the buildup of soap scum and mineral deposits, making each cleaning session easier and more efficient.
Reapplying the Protective Coating
Over time, the protective coating will gradually wear down. Reapply the coating every 6-12 months, or as recommended by the manufacturer. Choose a high-quality product specifically designed for shower doors. Follow the application instructions carefully to ensure proper adhesion and optimal performance. Look for signs like water no longer beading on the surface.
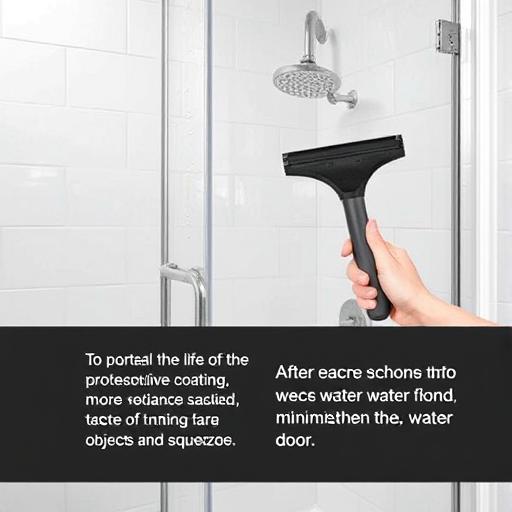
Preventing Damage
To prolong the life of the protective coating, avoid using sharp objects or abrasive tools near the coated surface. These can easily scratch or damage the film. After each shower, use a squeegee to remove excess water from the door. This simple step minimizes water buildup and reduces the likelihood of water spots.
Common Mistakes to Avoid
Avoid using vinegar or other acidic cleaners, as these can degrade the protective coating over time, reducing its effectiveness. Scrubbing too hard or using abrasive materials can scratch the coating, diminishing its water-repellent properties. Skipping regular maintenance allows buildup to accumulate, making cleaning more difficult and potentially damaging the coating long-term.
Conclusion
Proper cleaning techniques are essential for maintaining the beauty and functionality of your shower door with a protective coating. By following the outlined steps and avoiding common mistakes, you can preserve the coating’s integrity and enjoy a sparkling clean shower for years to come. Regular maintenance and the right cleaning supplies can significantly extend the lifespan of your shower door and its protective properties.
Have any other cleaning tips for shower doors with protective coatings? Share them in the comments below! Or, if you have any questions, please ask!
FAQs
1. Can I use vinegar to clean a shower door with a protective coating?
No, vinegar is an acidic cleaner that can damage the protective coating on your shower door. Stick to mild detergents and distilled water for safe and effective cleaning.
2. How often should I clean my shower door with a protective coating?
Aim for weekly cleaning to maintain the coating’s effectiveness and prevent the buildup of soap scum and water spots. Consistent cleaning will make each session easier.
3. Can I use a squeegee on a coated shower door?
Yes, using a squeegee after each shower is highly recommended. It helps remove excess water and prevents water spots and mineral buildup. This extends the time between needed deep cleanings.
4. How do I know when to reapply the protective coating?
Reapply the protective coating when water no longer beads up effectively on the surface, or every 6-12 months, depending on usage and the product’s instructions. Watch for signs of reduced water repellency.
5. Are there specific cleaning products recommended for coated shower doors?
Use non-abrasive, pH-neutral cleaners. Avoid ammonia-based or acidic products, as these can damage the coating. Look for products specifically formulated for coated glass surfaces for best results.