How to Install a Prehung Door
Installing a prehung door is a game-changer for any home improvement project. Unlike traditional doors that require separate frame and slab installation, a prehung door comes with the door already attached to its frame, saving you time and ensuring a professional finish. Whether you’re replacing an old door or adding a new one, proper installation is key to ensuring smooth operation, energy efficiency, and a polished look. With the right tools and a little patience, you can tackle this project like a pro.
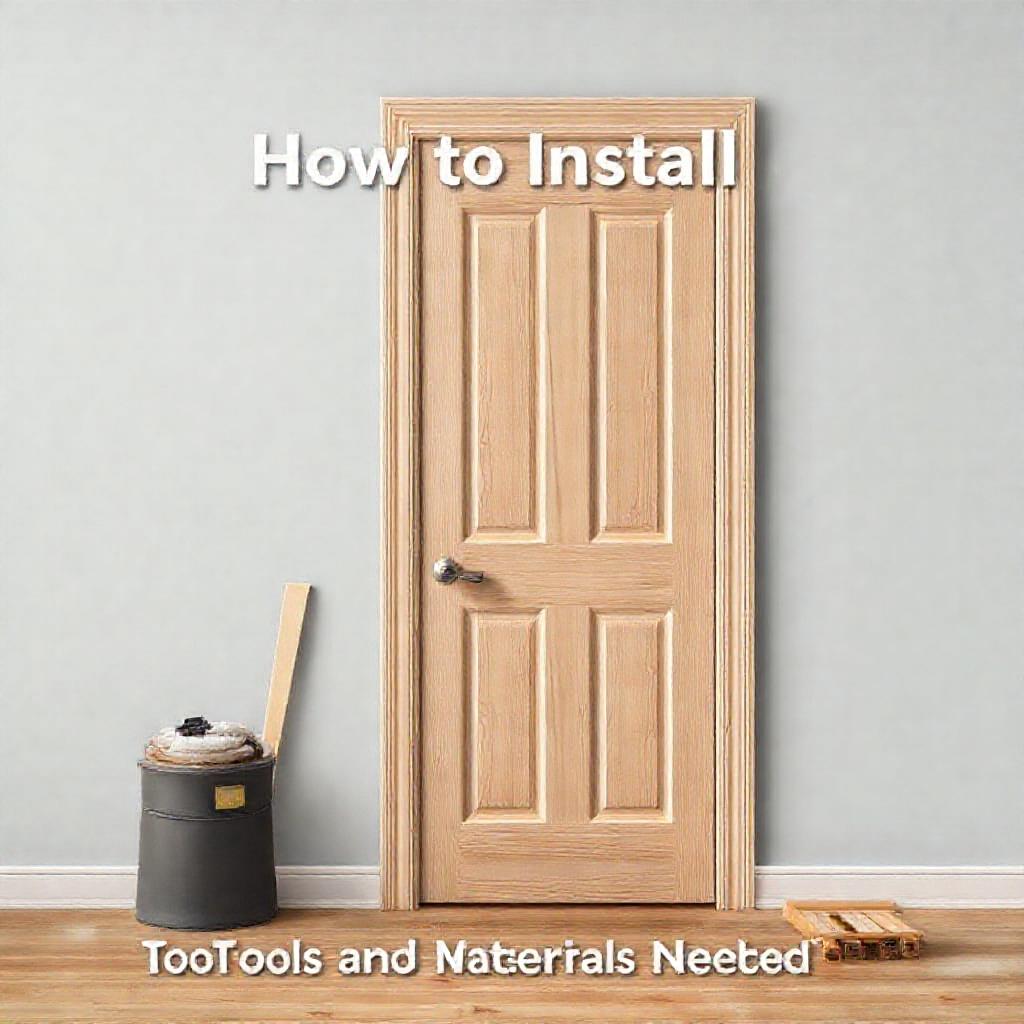
Tools and Materials Needed
Before you begin, gather the essential tools and materials to ensure a smooth installation process. Here’s what you’ll need:
- Tools: Level, drill, screwdriver, utility knife, tape measure, saw (if trimming is needed), hammer, shims, chisel, and safety glasses
- Materials: Prehung door, screws (2-1/2” to 3”), nails, caulk, weatherstripping, foam insulation, and paint or stain (if finishing)
- Optional: Work gloves, ear protection, and a stud finder
Step 1: Prepare the Door Opening
Start by inspecting the rough opening to ensure it’s square and level. Remove any old door, hardware, or debris, and measure the opening to confirm it matches the prehung door’s dimensions. If adjustments are needed, use a saw or chisel to modify the framing. A proper fit is crucial for stability and functionality.
Step 2: Assemble the Prehung Door
Unpack the prehung door and inspect it for damage. If the hinges aren’t pre-installed, attach them to the door slab using screws. Consider adding weatherstripping around the frame for better insulation. This step ensures everything is ready before positioning the door in the opening.
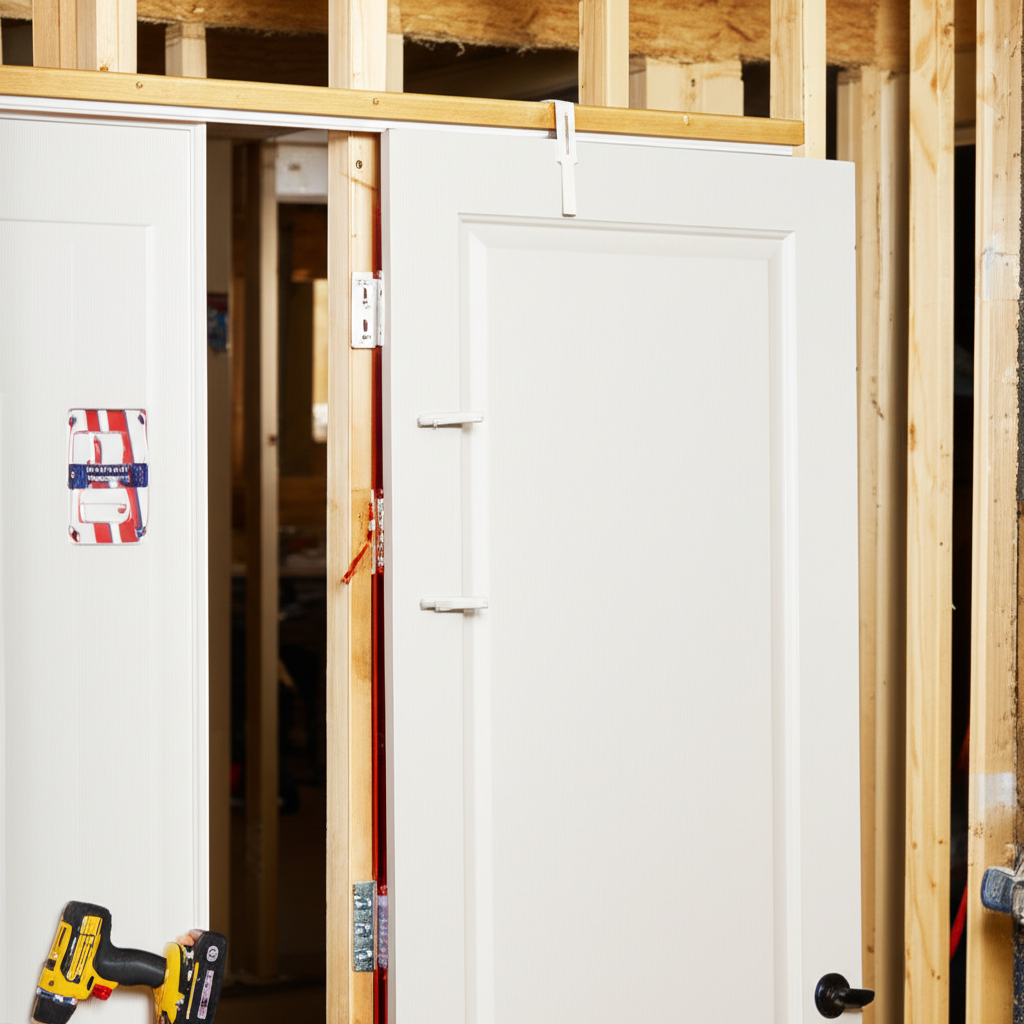
Step 3: Position the Door in the Opening
Carefully place the prehung door into the rough opening, ensuring it swings freely. Use shims to level the frame both vertically and horizontally. Check for even gaps (about 1/8” on the sides and top, 1/2” at the bottom for threshold clearance). The door should be plumb and square before securing it.
Key Metrics
Performance metrics for How to Install a Prehung Door
Step 4: Secure the Door Frame
Begin by attaching the frame to the wall studs using screws, starting at the hinge side. Add shims behind the hinges and latch area for added stability. Double-check the door’s alignment with a level before fully securing the frame. This step is critical for long-term durability and smooth operation.
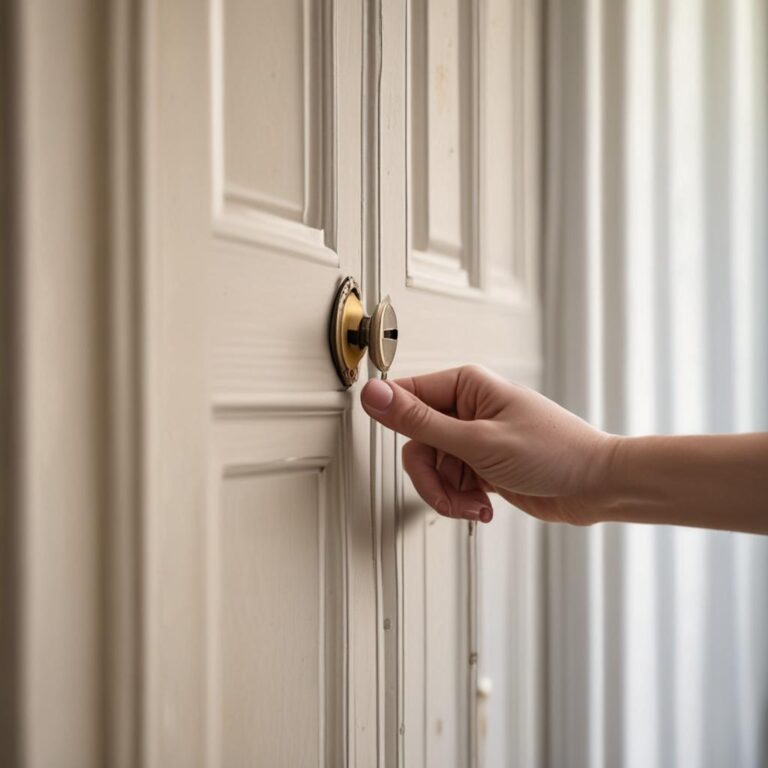
Step 5: Install the Door Hardware
Attach the door handle, latch, and strike plate according to the manufacturer’s instructions. Test the door’s swing and adjust the hinges if necessary. Ensure the door closes smoothly and latches securely. Small adjustments may be needed for a perfect fit.
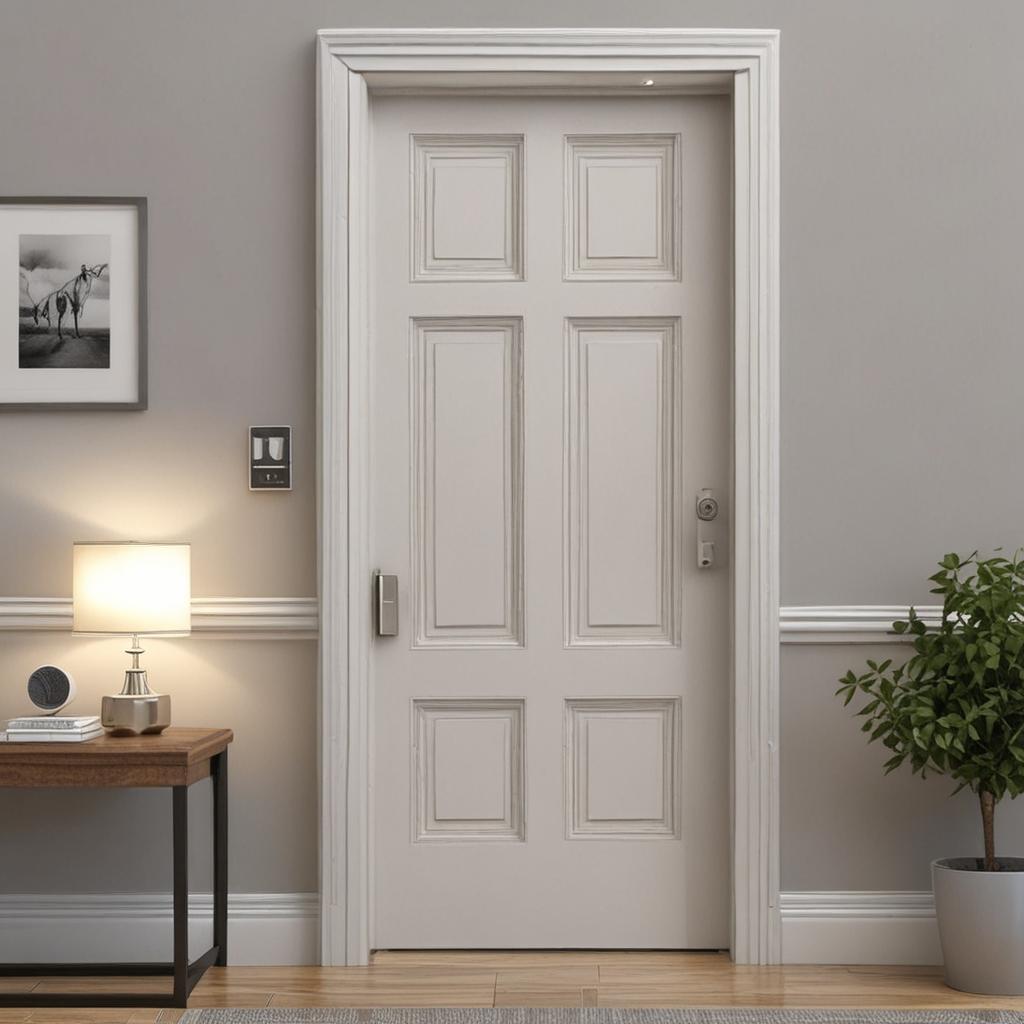
Step 6: Finish the Installation
Trim excess shims and fill any gaps with caulk or foam insulation to prevent drafts. If desired, paint or stain the door and frame to match your home’s décor. Clean up the work area, and you’re done! A well-finished installation enhances both aesthetics and functionality.
Tips for a Successful Installation
Here are a few expert tips to ensure a flawless installation:
- Measure twice, cut once—accuracy prevents costly mistakes.
- Use a level at every step to maintain perfect alignment.
- Take your time; rushing can lead to misalignment or damage.
- Consult the manufacturer’s instructions for specific guidelines.
Conclusion
A properly installed prehung door adds value, security, and style to your home. By following these steps, you can achieve a professional result without hiring a contractor. However, if you encounter challenges, don’t hesitate to seek professional help. With patience and attention to detail, you’ll enjoy a beautifully functioning door for years to come.
FAQ Section
1. Can I install a prehung door by myself?
Yes, with the right tools and preparation, it’s a manageable DIY project.
2. How long does it take to install a prehung door?
Typically, it takes 2-4 hours, depending on experience and the door’s condition.
3. What if my rough opening isn’t the right size?
Adjust the opening by adding or removing framing materials to match the door dimensions.
4. Do I need to use shims?
Yes, shims are essential for leveling and stabilizing the door frame.
5. How do I ensure the door is energy-efficient?
Use weatherstripping and seal gaps with caulk or foam insulation to prevent drafts.