How to Install an Exterior Door
Installing an exterior door is a crucial home improvement project that enhances security, energy efficiency, and curb appeal. A properly installed door keeps drafts out, prevents water damage, and ensures smooth operation for years to come. Whether you’re replacing an old door or installing a new one, careful planning and precise execution are key. This step-by-step guide covers everything from measuring the opening to weatherproofing and final adjustments, helping you achieve a professional-quality result.
Step-by-Step Process
Measure Door Opening
Check dimensions and ensure the new door fits the existing frame.
Remove Old Door
Unscrew hinges and carefully take out the existing door and frame.
Prepare New Door
Adjust shims and level the door for proper alignment and fit.
Install Door Frame
Secure the frame with screws and ensure it's plumb and square.
Attach Hardware
Install hinges, handle, and lock, then test for smooth operation.
Process infographic for How to Install an Exterior Door
Tools and Materials Needed
Essential Tools
To install an exterior door, you’ll need the following tools:
- Hammer
Required Materials
Gather these materials before starting the installation:
- Pre-hung exterior door (or door slab and frame)
Preparing for Installation
Measuring the Door Opening
Accurate measurements are critical for a proper fit. Measure the width, height, and depth of the existing opening. Pre-hung doors typically have standard sizes, so ensure your new door matches or is slightly smaller to allow for adjustments. If the opening is too large, you may need to install a new frame.
Removing the Old Door
Start by disconnecting the hinges and removing the door slab. If the frame is damaged, remove it as well using a pry bar and hammer. For stubborn doors, check for hidden screws or nails and work carefully to avoid damaging the surrounding wall. Once removed, clean the opening and inspect for any structural issues before proceeding.
Installing the New Exterior Door
Fitting the Pre-Hung Door
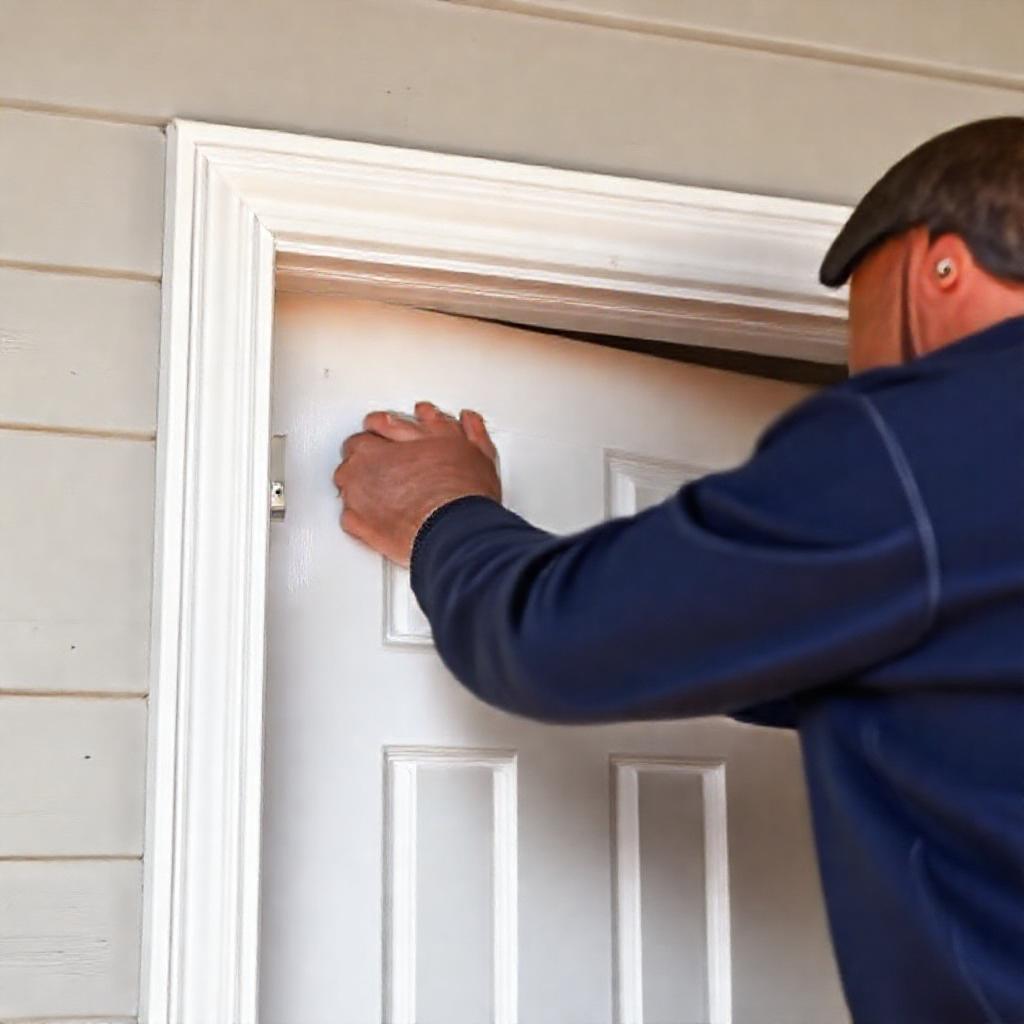
Place the pre-hung door into the opening, ensuring the hinges are on the correct side. Use temporary shims to hold it in place while you check for level and plumb. Adjust the shims as needed until the door swings freely and the frame is square. Leave a small gap (about ½ inch) around the door for weatherproofing.
Securing the Door Frame
Once aligned, secure the frame using nails or screws at each hinge location. Drive screws through the pre-drilled holes into the studs for a sturdy connection. Check the frame again for level and adjust shims if necessary. Fill any gaps with insulation before sealing.
Installing the Door Slab (If Not Pre-Hung)
If using a door slab, attach the hinges to the frame first, then hang the door. Test the alignment and adjust the hinges if the door doesn’t close properly. Ensure the door latches securely and operates smoothly before moving to the next steps.
Weatherproofing and Finishing Touches
Applying Weatherstripping
Weatherstripping prevents drafts and moisture from entering. Choose self-adhesive foam or rubber weatherstripping for durability. Apply it around the door jamb, pressing firmly to ensure a tight seal. Check for gaps and trim any excess material for a clean finish.
Sealing Gaps and Insulating
Use caulk or sealant to fill gaps between the frame and wall. For larger openings, inject foam insulation before sealing. This step is essential for energy efficiency and preventing water damage. Allow the sealant to cure before proceeding.
Installing Hardware (Locks, Handles, and Deadbolts)
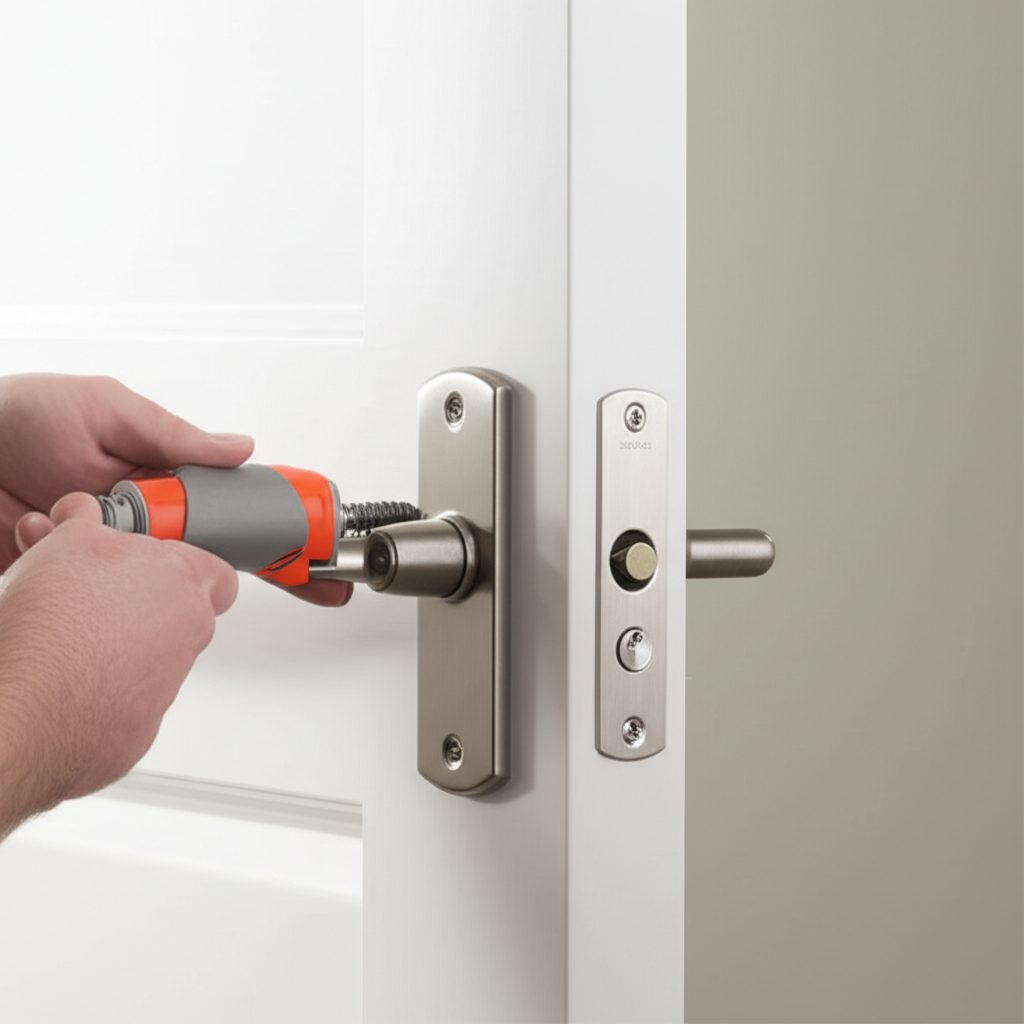
Follow the manufacturer’s instructions to install door handles and locks. Ensure the strike plate aligns with the latch for smooth operation. Test the lock mechanism and make any necessary adjustments to ensure security and functionality.
Testing and Adjustments
Checking Door Operation
Open and close the door several times to check for smooth movement. If it sticks, adjust the hinges by loosening the screws and repositioning them. A properly installed door should swing freely without dragging or binding.
Final Inspection for Gaps and Drafts
Inspect the door and frame for any remaining gaps or drafts. Apply additional sealant or weatherstripping as needed. A well-sealed door improves insulation and reduces energy costs over time.
Conclusion
Properly installing an exterior door enhances your home’s security, energy efficiency, and appearance. By following this guide, you can achieve a professional result with minimal hassle. If you encounter challenges, don’t hesitate to consult a professional for assistance. A well-installed door is a long-term investment in your home’s comfort and safety.
FAQs
1. What’s the difference between a pre-hung door and a slab door?
A pre-hung door includes the door slab, hinges, and frame, making installation easier. A slab door is just the door itself, requiring separate frame installation. Pre-hung doors are ideal for beginners, while slab doors offer more customization.
2. How do I know if my door frame is square before installation?
Use a level and measuring tape to check the diagonals of the frame. If the measurements are equal, the frame is square. Adjust shims or the frame itself if necessary before securing it in place.
3. Can I install an exterior door myself, or should I hire a professional?
DIY installation is possible with the right tools and patience. However, if you’re unsure about framing, weatherproofing, or alignment, hiring a professional ensures a flawless result. Consider your skill level and the door’s importance to your home’s security.
4. What’s the best weatherstripping for an exterior door?
Foam weatherstripping is affordable and easy to install, while rubber or vinyl options offer better durability and a tighter seal. Choose self-adhesive types for convenience, but ensure they’re rated for outdoor use.
5. How often should I replace the weatherstripping on my exterior door?
Inspect weatherstripping annually for cracks or wear. Replace it every 3-5 years or when you notice drafts or moisture seeping in. Regular maintenance extends the door’s lifespan and improves energy efficiency.


