How to Install Garage Door Opener
Installing a garage door opener can transform how you manage your garage, offering convenience, enhanced security, and seamless automation. Whether you’re upgrading an old system or installing one for the first time, a well-executed setup ensures smooth operation and long-term reliability. Before diving in, it’s essential to prioritize safety and understand the basic requirements. This guide walks you through the process step by step, empowering you to complete the installation confidently—or know when to call a professional for assistance.
Step-by-Step Process
Gather Tools
Collect screwdriver, drill, level, and opener kit.
Mount the Rail
Attach the opener rail to the garage ceiling.
Install the Motor
Secure the motor unit to the rail bracket.
Connect the Opener
Link the opener to the door and power source.
Test the System
Verify operation with remote and safety sensors.
Process infographic for How to Install Garage Door Opener
Tools and Materials Needed
Essential Tools
To begin, gather the following tools: a power drill, screwdrivers (both Phillips and flathead), a level, a measuring tape, a ladder, a wrench, and pliers. These items are critical for assembling components and ensuring precise alignment. A stud finder will also help locate ceiling joists or wall studs for secure mounting.
Required Materials
Your garage door opener kit should include a motor unit, rail, trolley, mounting brackets, safety sensors, and a wall control. Additional materials like screws, nuts, and electrical wiring may need supplementation. Don’t forget safety gear such as gloves, safety goggles, and a non-slip mat for stability. Ensure all parts are compatible with your door type and weight capacity.
Preparing for Installation
Safety First
Turn off the power to your garage to prevent electrical hazards. Inspect the door for damage or balance issues—uneven doors can strain the opener or cause accidents. Keep the workspace clear of children and pets, and ensure the garage is well-lit for visibility during installation.
Choosing the Right Location
Mount the motor unit near the center of the garage ceiling or on a sturdy wall, leaving at least 8 inches of clearance between the rail and side obstructions. Avoid installing near light fixtures, vents, or overhead storage to prevent interference. Confirm the location can support the opener’s weight via ceiling joists or wall studs.
Reading the Manual
Familiarize yourself with the manufacturer’s instructions to avoid errors. Pay attention to safety labels and warnings specific to your model. Manuals often include diagrams for component assembly and unique features like smart connectivity or force adjustments.
Step-by-Step Installation Process
Mounting the Motor Unit
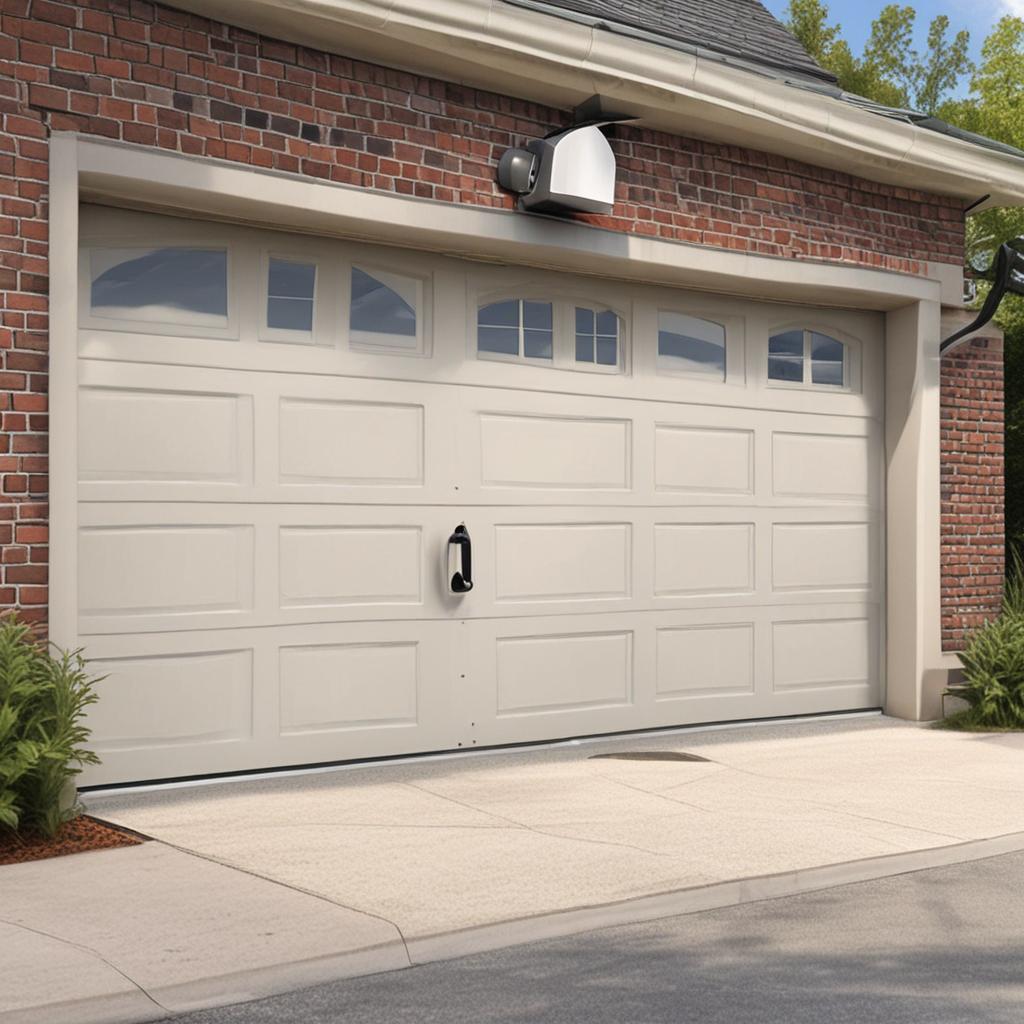
Secure the motor unit to ceiling joists or wall studs using the provided brackets. Use a level to ensure the unit is straight, and tighten all bolts to prevent movement. The rail must extend toward the door’s center, so adjust the mounting position accordingly.
Installing the Rail and Trolley
Attach the rail to the motor unit’s bracket, ensuring it’s parallel to the door track. Slide the trolley onto the rail and connect it to the garage door bracket using the included hardware. Double-check that the trolley moves freely along the rail and aligns with the door’s vertical track.
Connecting the Power and Controls
Wire the opener to a dedicated circuit in your electrical panel, matching the voltage specified in the manual. Mount the wall control panel near the door and connect it to the opener’s wiring harness. Test the power supply using a multimeter if available, and install batteries in the remote for later pairing.
Setting Up Safety Sensors
Install photo-eye sensors 6 inches from the ground on either side of the door opening. Ensure the sensors face each other directly—misalignment can trigger unexpected reversals. Connect the wiring to the opener and test their functionality by interrupting the beam while the door closes.
Programming and Testing
Configuring the Remote Control
Follow the manual’s instructions to program the remote’s frequency and sync it with the opener. For systems with multiple remotes or keypads, repeat the process to ensure all devices operate the door. Update codes if your opener uses a rolling code system for security.
Testing the Garage Door Opener
Initiate a trial run with the door partially open to check the trolley’s movement. Verify the door opens and closes smoothly without jerking. Test the safety sensors by placing an object in the door’s path—it should reverse immediately. Adjust the force and travel settings if the door doesn’t stop at the correct height or applies too much pressure.
Troubleshooting Common Issues
If the door reverses unexpectedly, check sensor alignment and ensure nothing blocks the beam. A non-responsive remote may need fresh batteries or reprogramming. For noisy operation, inspect for loose hardware or dry moving parts and apply lubricant to the tracks and springs.
Maintenance and Safety Tips
Regular Maintenance
Periodically lubricate the opener’s chain, gears, and springs with a silicone-based lubricant. Tighten bolts and review sensor alignment to maintain safety and efficiency. Test the manual release feature quarterly to ensure you can open the door without power.
Enhancing Security
Opt for a rolling code opener to prevent unauthorized access via signal interception. Change remote codes annually and store backup keys securely. Always close the garage door when leaving home, and consider integrating a smart opener for remote monitoring and alerts.
Conclusion
By following this guide, you’ve systematically installed a garage door opener, from assembling hardware to programming controls. Revisit each step to confirm everything functions as intended, and never rush the testing phase. Remember, safety is paramount—ensure sensors work reliably and the door operates without strain. If unsure at any point, consult a professional to avoid risks.
FAQs
Can I install a garage door opener myself, or should I hire a professional?
DIY installation is feasible if you’re comfortable with basic tools and instructions. Seek professional help if your door is heavy, unbalanced, or requires structural modifications. Complex smart systems or electrical work may also warrant expert assistance.
How do I know if my garage door is compatible with a new opener?
Check your door’s height, weight, and type (sectional, tilt, or roller). Match the opener’s horsepower and specifications to these requirements. Older doors may need reinforcement or specialized brackets to support modern openers.
What should I do if the garage door opener stops working?
Start by checking the power supply and replacing batteries in remotes. Ensure sensors are clean and aligned, and verify the wall control panel is functioning. If the issue persists, refer to the manual’s troubleshooting section or contact the manufacturer’s customer support.
Can I use a smart garage door opener with my existing system?
Most smart openers work with standard garage door systems and integrate with Wi-Fi, Bluetooth, or smart home platforms like Alexa or Google Home. Choose a model that matches your door type and supports your preferred ecosystem for maximum compatibility.
How often should I replace a garage door opener?
A quality opener typically lasts 10–15 years. Replace it if the motor is noisy or overheating, the remote stops working reliably, or the system lacks modern safety features. Regular maintenance can extend its lifespan and prevent costly repairs.

