How to Make Cabinet Doors
Cabinet doors play a pivotal role in defining the look and functionality of kitchens and bathrooms. Whether you’re refreshing an outdated space or building from scratch, crafting your own cabinet doors offers unmatched flexibility and cost savings. By selecting materials and styles that align with your vision, you can create a cohesive design that reflects your personality. This guide will walk you through the essentials of making cabinet doors, from planning to installation, with tips to elevate your project and avoid common pitfalls.
Step-by-Step Process
Measure & Cut Panels
Measure and cut plywood or MDF to size for door panels.
Assemble Frame
Build the door frame using rails and stiles with glue and clamps.
Attach Panels
Secure the panel to the frame using panel pins or glue blocks.
Sand & Finish
Sand smooth and apply paint, stain, or clear finish.
Install Hinges
Attach hinges and test door fit before final installation.
Process infographic for How to Make Cabinet Doors
Materials and Tools for Cabinet Door Construction
Choosing the Right Materials
Material selection is the foundation of your cabinet doors. Medium-density fiberboard (MDF) is affordable and paint-friendly but heavier and less moisture-resistant. Plywood provides stability and is ideal for routed designs, while solid wood offers durability and a premium finish but comes at a higher cost. Consider alternatives like veneers for a wood-like appearance on budget-friendly substrates or laminates for easy cleanup. Repurposed materials, such as salvaged doors or reclaimed wood, add character and sustainability to your project.
Essential Tools and Equipment
Basic hand tools like saws, chisels, and clamps are sufficient for simple door designs, but power tools like table saws, routers, and drills streamline complex cuts and joinery. For precision, invest in a tape measure, combination square, and marking gauge. Safety is paramount—wear gloves, goggles, and a dust mask when cutting or sanding. If you’re new to woodworking, start with a miter box and hand router before upgrading to power tools as your confidence grows.
Understanding Cabinet Door Styles and Designs
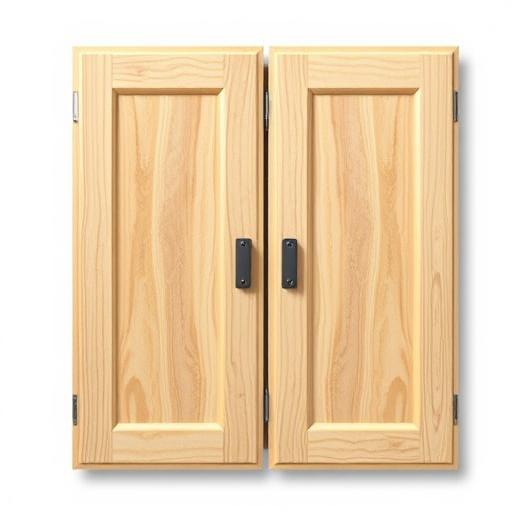
Popular Cabinet Door Styles
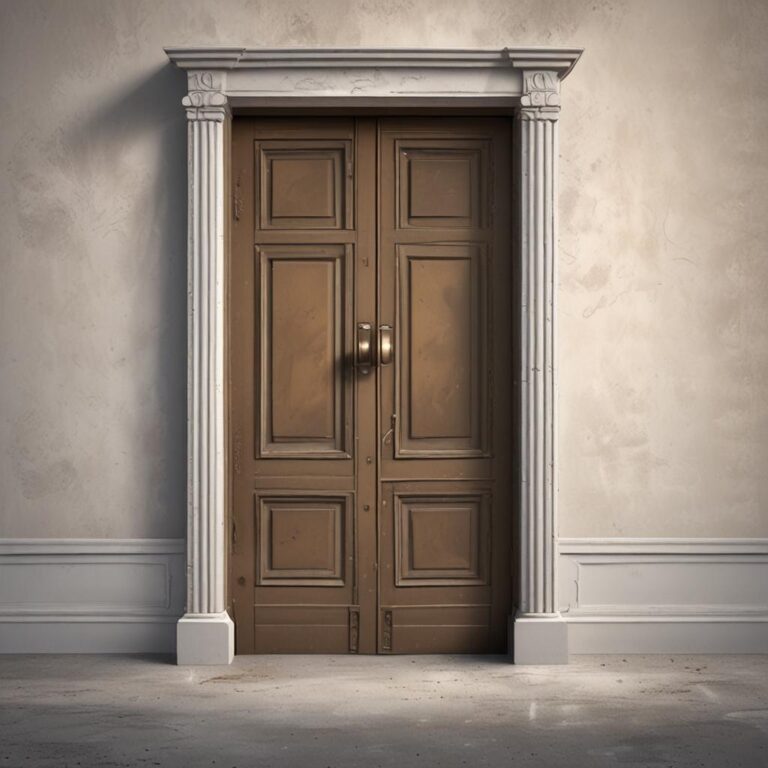
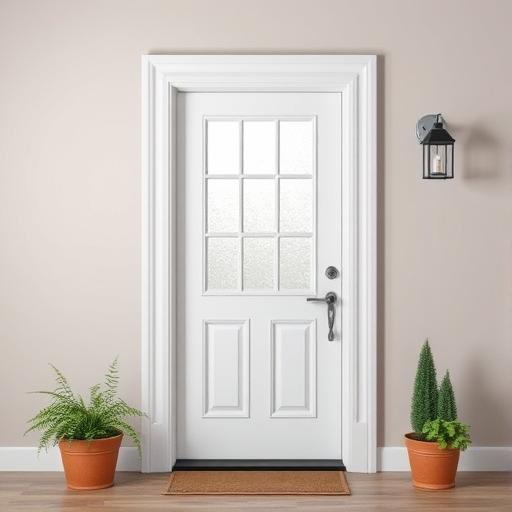
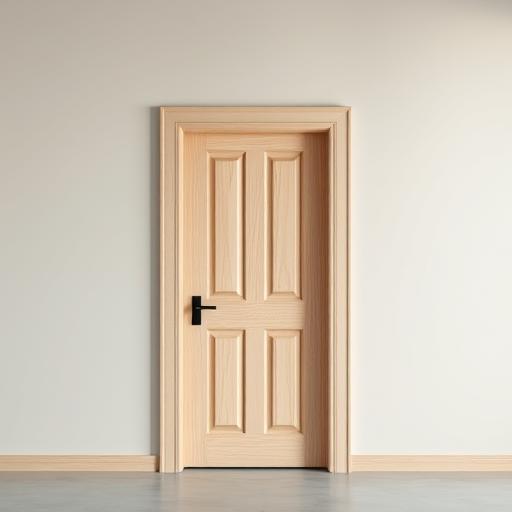
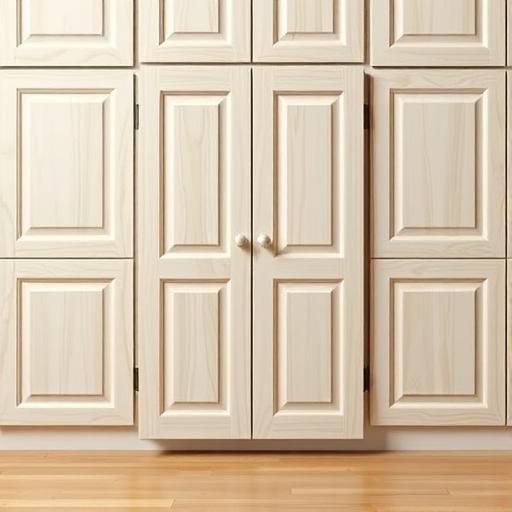
Panel doors, such as Shaker, raised panel, or recessed panel, add depth and classic charm. Slab doors are sleek, modern choices that emphasize minimalism. Glass doors, whether frosted, clear, or decorative, introduce light and visual interest. Each style suits different aesthetics, from traditional to contemporary, and can be tailored to your room’s theme.
Design Considerations
Matching your door style to the room’s design ensures harmony. For example, raised panels pair well with farmhouse kitchens, while slab doors complement modern bathrooms. Consider hardware placement—centered handles for symmetry or off-center for a trendy look—and edge treatments like beading or chamfers for added detail. Decide between custom sizes for irregular cabinets or standard dimensions to simplify the process and reduce costs.
Step-by-Step Guide to Building Cabinet Doors
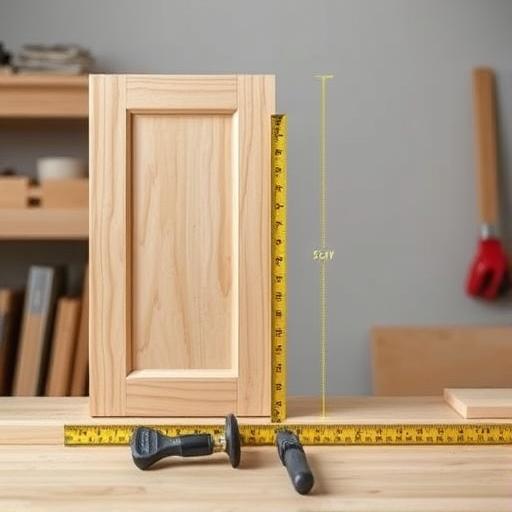
Planning and Measuring
Begin by measuring cabinet openings precisely, accounting for hinge thickness and desired clearance. Use a combination square to ensure straight marks and sketch a scaled template for accuracy. Calculate material quantities to avoid waste and compare costs to stay within budget. Double-check measurements before cutting to prevent errors that could delay your project.
Cutting and Shaping the Frame
Cut stiles (vertical frame pieces) and rails (horizontal pieces) to size using a saw. For mitered or dado joints, a router with the correct bit ensures clean, professional edges. Assemble the frame with wood glue and clamps, adjusting as needed for a tight fit. Allow the glue to dry completely before proceeding to maintain structural integrity.
Adding Panels (For Raised or Recessed Doors)
Install solid or routed panels by securing them into the frame for raised or recessed designs. To prevent warping, use floating panels that allow for wood expansion. Leave small gaps around the panel to accommodate natural movement and ensure long-term stability. This step is crucial for maintaining a polished appearance as humidity levels fluctuate.
Finishing the Doors
Sand all surfaces and edges thoroughly for a smooth finish and even alignment. Apply primer before painting or staining to enhance durability and color consistency. Finish with a protective coat of polyurethane, wax, or lacquer to guard against wear. For a consistent look, sand and paint multiple doors in batches, allowing each layer to dry fully.
Attaching Hardware
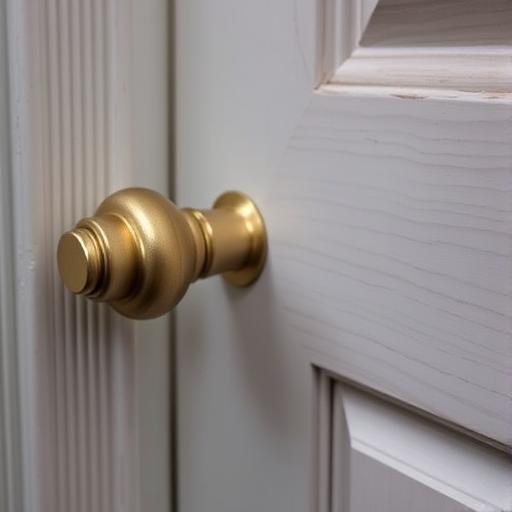
Install hinges carefully, as alignment affects door function. European soft-close hinges offer a professional touch, while standard hinges are budget-friendly. When adding handles or knobs, consider the door’s weight and balance to prevent sagging. Mark hardware placement using a level and test fit before drilling final holes.
Installation and Final Adjustments
Mounting the Doors
Attach doors to cabinets using screws through the hinges, ensuring gaps are even on all sides. Use shims to adjust alignment and plumb the doors with a level. Check for smooth operation by opening and closing each door multiple times. Make minor adjustments with a screwdriver to correct sticking or misalignment.
Troubleshooting Common Issues
If doors warp after finishing, it may result from uneven drying or moisture exposure. Use floating panels or apply finish to both sides to mitigate this. For misaligned doors, loosen hinge screws and reposition the hardware. Gaps between doors and frames can often be resolved by sanding the edges or adding filler. Address imperfections promptly to maintain a polished finish.
Advanced Tips and Customization Options
Experiment with inlays or mixed materials like wood and metal for a unique touch. Decorative glass inserts can transform a simple door into a focal point. Upgrade to soft-close hinges for a quiet, functional experience or add adjustable shelves inside cabinets for versatility. Embrace sustainability by repurposing old doors or using water-based finishes to reduce environmental impact.
Conclusion: Enhance Your Space with Custom Cabinet Doors
Creating custom cabinet doors allows you to blend style, function, and personal flair. From material selection to hardware installation, each step offers opportunities to tailor your project. Don’t hesitate to try new designs or techniques—your finished doors will not only improve your space but also showcase your craftsmanship. Share your results online or tackle your next DIY adventure with confidence!
FAQ: Frequently Asked Questions About Making Cabinet Doors
What is the cheapest material for DIY cabinet doors? MDF is often the most budget-friendly option, though plywood offers better stability. Repurposed materials like old doors or cabinet remnants can also cut costs while adding character.
How do I measure cabinet doors accurately? Measure the width and height of the opening, subtract 1/8 inch for clearance, and verify dimensions with a square. For existing doors, measure inside and outside edges separately to ensure compatibility.
Can I use a router to create raised panel doors? Yes, a router with a raised panel bit is essential for shaping the recessed center. Practice on scrap wood first to perfect your technique and ensure consistent depth.
Why is my cabinet door warping after finishing? Warping often stems from moisture or uneven drying. Use floating panels, apply finish to both sides, and store doors flat during curing. Avoid working in humid environments to prevent future issues.
What tools can I skip if I’m a beginner? A router can be replaced with a miter box and hand saw for simple frame-and-panel doors. A hand sander and clamps can substitute for power tools, though projects may take longer to complete.