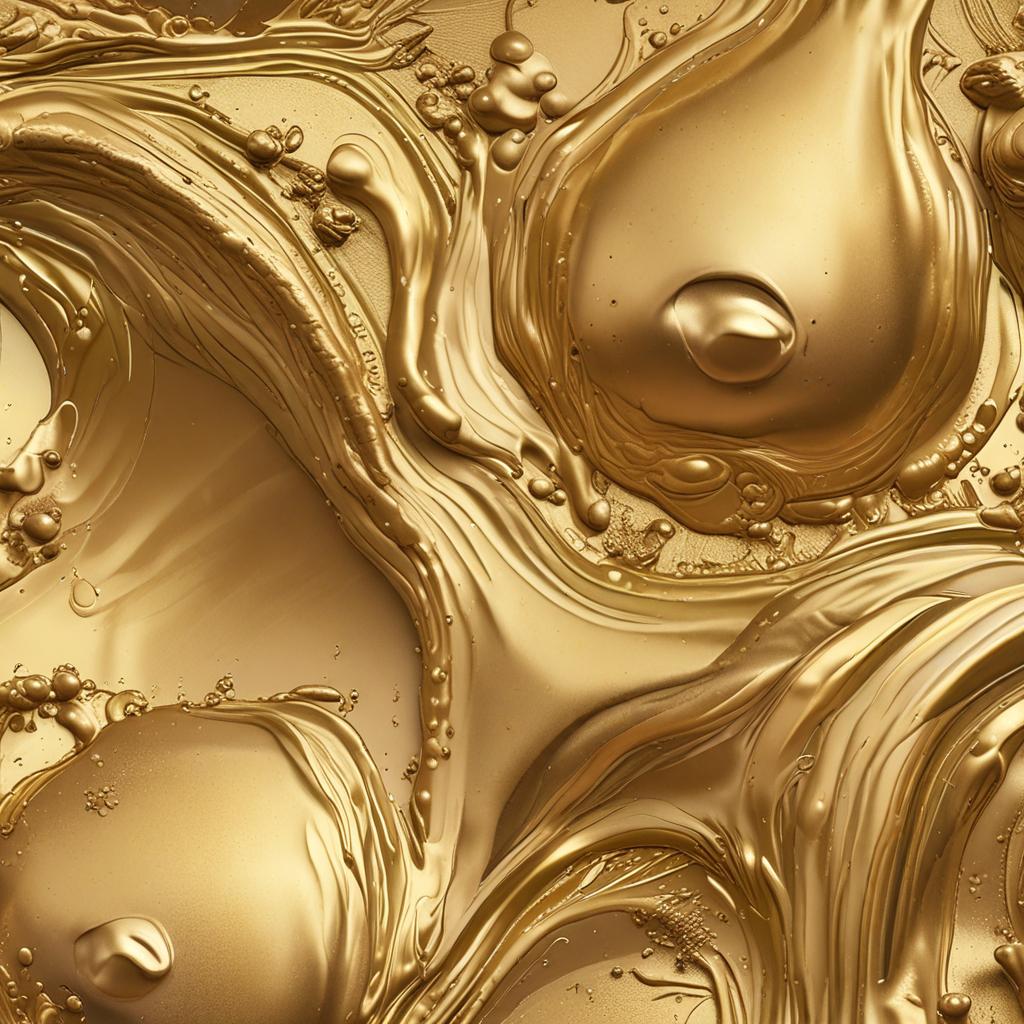
How to Make Gold Paint
Creating your own gold paint can be a rewarding and cost-effective way to add a touch of luxury to your art projects, crafts, or home décor. Whether you’re a DIY enthusiast or a professional artist, homemade gold paint allows for customization, non-toxic options, and the satisfaction of crafting something unique. From gilded picture frames to cosplay accessories, the possibilities are endless. In this guide, we’ll walk you through the materials, step-by-step process, and application techniques to help you achieve a stunning gold finish. Let’s dive in and elevate your creativity!
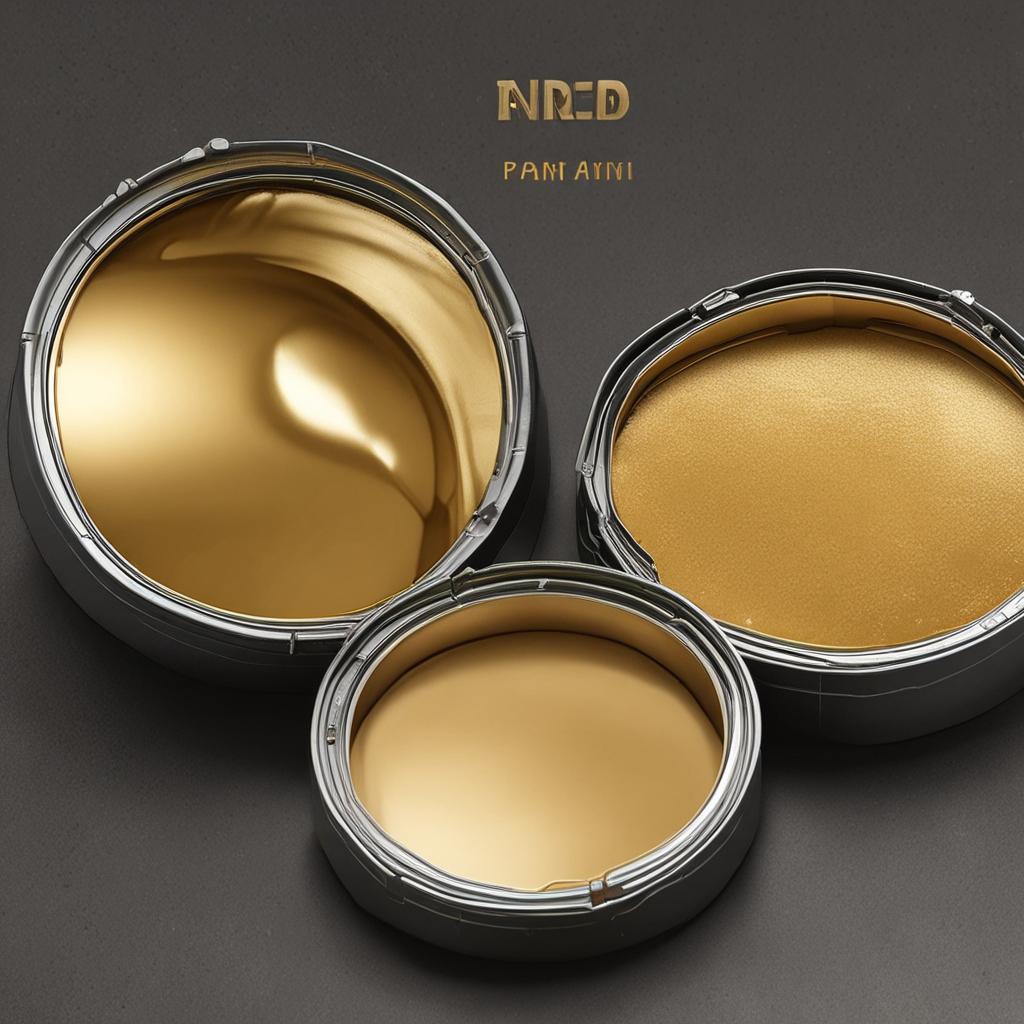
Materials Needed to Make Gold Paint
Base Paint Options
Start with a base paint that suits your project. Acrylic paint, whether flat or metallic, is ideal for beginners due to its versatility and ease of use. Spray paint is another excellent option for quick and even coverage on larger surfaces. If you’re working on a surface that requires better adhesion, consider using gesso or primer as a base layer. These materials ensure the gold pigment adheres smoothly and lasts longer.
Gold Pigment or Powder
The star of your gold paint is the gold pigment. Gold mica powder is a popular choice for its shimmering effect, while gold metallic acrylic pigment provides a more consistent finish. For a budget-friendly alternative, you can use gold leaf shavings or even gold dust from costume jewelry. These materials are readily available at craft stores or online, making it easy to get started.
Mixing Tools and Surfaces
To mix your gold paint, you’ll need a palette or a small container. Use paintbrushes, palette knives, or sponges for application, depending on your project. Don’t forget to wear gloves and a mask for safety, especially when working with fine powders. Setting up a clean, well-ventilated workspace is essential for a smooth and enjoyable process.
Step-by-Step Process to Create Gold Paint
Preparing the Base Paint
Begin by selecting your base paint. For a bright gold tone, start with a white or yellow base. If your surface requires it, apply a primer to ensure better adhesion and a smoother finish. Allow the primer to dry completely before moving on to the next step.
Mixing the Gold Color
Start with a ratio of 1 part gold pigment to 3 parts base paint, adjusting as needed to achieve your desired shade. Use a palette knife or brush to blend the pigment into the base paint, ensuring there are no clumps. For warmer gold tones, add a hint of brown or red; for cooler tones, mix in a touch of silver or white.
Adding Metallic Shine (Optional)
For an extra layer of shimmer, mix in mica powder. Start with a small amount and gradually increase until you achieve the desired reflectivity. Stir thoroughly to ensure an even distribution of the metallic particles.
Application Techniques for Gold Paint
Brushing On Gold Paint
Use synthetic bristle brushes for smooth application. Apply the paint in thin, even layers, allowing each coat to dry before adding the next. This technique ensures depth and richness in the final finish.
Spray Painting for Large Surfaces
If you’re working on a large surface, consider thinning your gold pigment with a spray paint extender. Adjust the distance and pressure settings on your spray gun for even coverage. This method is perfect for furniture or walls.
Sponge or Stencil Methods
For textured or patterned effects, use a sponge or stencil. This technique is ideal for adding gilded accents to furniture, picture frames, or decorative items. Experiment with different tools to create unique designs.
Drying and Curing the Paint
Drying times vary depending on the type of paint used. Acrylic paint typically dries within 20-30 minutes, while spray paint may take longer. For added durability, cure the paint with heat, UV light, or a clear sealant. Ensure the surface is completely dry before handling to avoid smudges.
Tips for Authentic Gold Tones
To achieve a more authentic gold tone, mix in complementary colors like brown or red for a vintage look. For a luxurious finish, consider using a gold leaf adhesive. If your paint turns out clumpy or dull, add more pigment or use a fine-tipped brush for detail work.
Storing and Preserving Your Gold Paint
Store your homemade gold paint in an airtight container to prevent drying. For long-term storage, refrigeration can help maintain its consistency. Avoid contamination by keeping the paint away from moisture and dirt.
Creative Project Ideas with Homemade Gold Paint
Transform ordinary items into stunning pieces with your gold paint. Gild picture frames, mirrors, or candle holders for a touch of elegance. Create DIY jewelry or decorative accents for a personalized touch. Restore furniture or craft gold leaf-inspired wall art to make a bold statement.
Conclusion: Elevating Your Art with DIY Gold Paint
Making your own gold paint is a simple yet impactful way to enhance your projects. By following this guide, you can create customized, non-toxic, and cost-effective gold paint tailored to your needs. Don’t be afraid to experiment with different techniques and colors to achieve the perfect finish. Always test your paint on a small surface before committing to ensure the best results. Happy crafting!
FAQ: How to Make Gold Paint
Can I use regular paint instead of metallic base paint?
Yes, but mix with gold pigment or apply a metallic clear coat afterward.
Is homemade gold paint safe for beginners?
Safe if you follow safety measures like wearing gloves and working in a ventilated area.
How do I fix a streaky or uneven gold finish?
Use a fine-tipped brush for detail work or add more pigment to the base.
How long does homemade gold paint last?
Up to 1-2 months if stored properly; add a sealant for longevity.
What are affordable substitutes for gold powder?
Try gold spray paint, glitter glue, or even food-grade gold dust (for non-edible crafts).