How to Make Skin Color Paint
Creating skin color paint is an art form that combines creativity, science, and precision. Whether you’re an artist crafting lifelike portraits, a makeup enthusiast perfecting your foundation, or a cosplayer designing realistic prosthetics, making your own skin-toned paint offers unmatched customization and accuracy. Not only is it cost-effective, but it also allows you to achieve the exact shade and undertone you need for your project. From understanding the basics of skin tone to mastering the mixing process, this guide will walk you through everything you need to know to create skin color paint that suits your unique requirements.
Understanding Skin Tone Basics
The Science of Skin Color
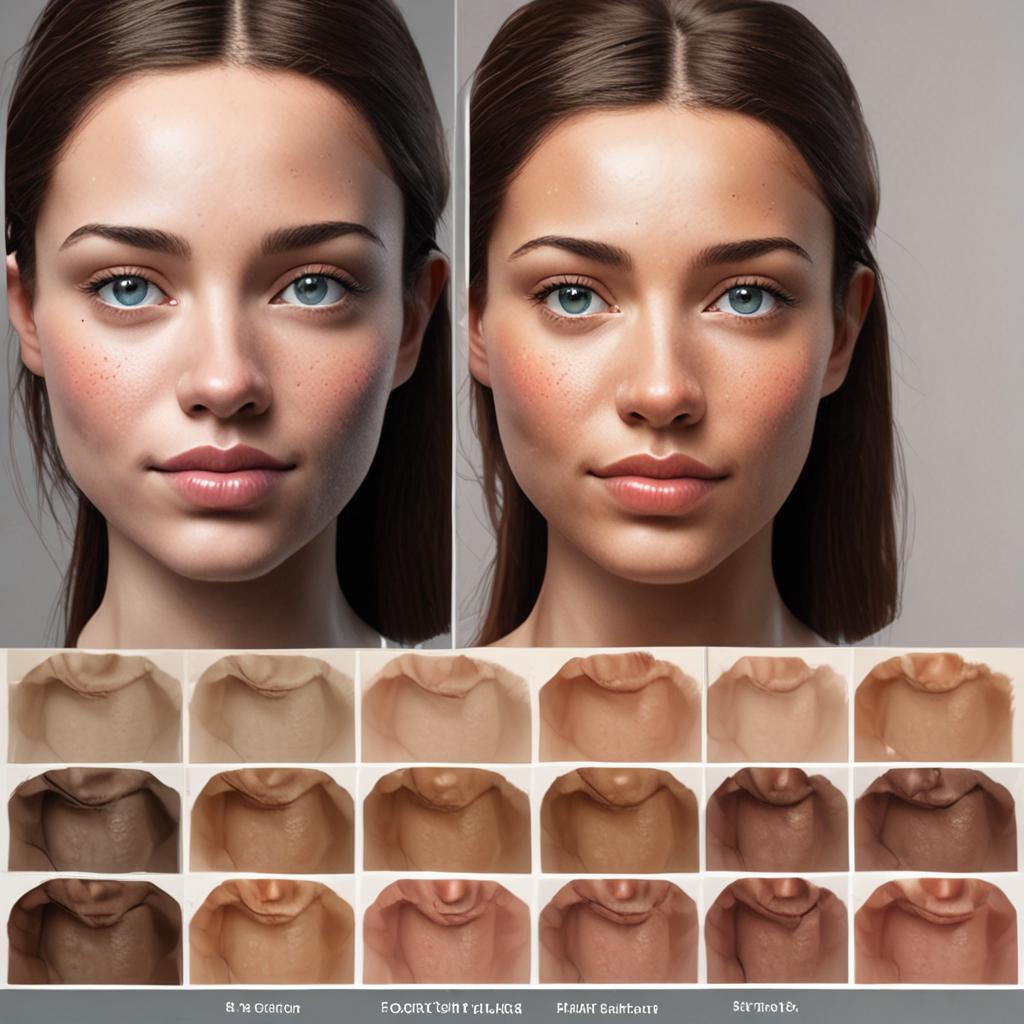
Skin color is determined by three primary pigments: melanin, hemoglobin, and carotene. Melanin, the most influential, ranges from light beige to deep brown. Hemoglobin gives a reddish undertone, while carotene adds a yellowish hue. Additionally, skin tones are categorized by undertones—warm (yellow, orange), cool (blue, purple), and neutral (balanced). Understanding these elements is crucial for mixing paint that accurately represents human skin.
Types of Skin Color Paint Applications
Skin color paint has diverse uses, from fine art to practical applications. Artists use it for portrait painting to capture lifelike human features. In makeup, it’s essential for foundation, contour, and highlighting. For special effects and cosplay, it’s used to create realistic wounds, scars, or fantasy skin tones. The finish—matte, satin, or glossy—also plays a role in achieving the desired effect, depending on the application.
Choosing the Right Materials
Essential Ingredients & Tools
To create skin color paint, you’ll need base pigments like titanium white, yellow ochre, raw umber, and burnt sienna. Binders such as acrylic medium, oil paint, or watercolor gums help combine the pigments effectively. Tools like paintbrushes, palettes, and mixing containers are also essential for precision and ease of use.
Safe vs. Toxic Pigments
When making paint for skin application, always opt for non-toxic pigments. Avoid harmful ingredients like lead or cadmium, which can cause skin irritation or other health issues. For makeup or prosthetics, ensure all materials are skin-safe and hypoallergenic.
Step-by-Step Guide to Mixing Skin Color Paint
Basic Skin Tone Formula
Start with a neutral base by mixing white and yellow ochre. Adjust the hue by adding small amounts of red or brown for depth. This foundational mix serves as a starting point for customizing skin tones.
Essential Checklist
Goal Definition
Clearly define objectives and success metrics
Resource Planning
Allocate necessary time, budget, and personnel
Implementation Strategy
Develop step-by-step execution plan
Quality Assurance
Establish testing and validation procedures
Performance Monitoring
Set up tracking and reporting systems
Essential items for How to Make Skin Color Paint
Customizing for Different Skin Tones
For warm skin tones, incorporate yellow or orange. Cool skin tones can be achieved by adding blue or purple. For deeper skin tones, use burnt umber and black sparingly. Experiment with small adjustments to find the perfect shade.
Testing and Adjusting the Paint
Always test your paint on paper or a skin patch to ensure accuracy. Fine-tune the color with minor additions of pigment until you achieve the desired result.
Tips for Perfecting Your Skin Color Paint
Layering for Realistic Effects
Use thin washes of paint to create translucency, mimicking the natural look of skin. Add shadows with darker tones like burnt umber or black to enhance depth and realism.
Achieving Natural Texture
To replicate skin’s texture, use sponges or stippling brushes. Avoid flat, uniform application by varying the pressure and technique for a more lifelike finish.
Applications of Homemade Skin Color Paint
Artistic Uses (Portrait Painting)
In portrait painting, layering and blending techniques are key to capturing the subtle variations in human skin. Use your custom paint to highlight details like cheekbones, shadows, and highlights.
Makeup & Prosthetic Uses
For makeup, mix your paint into a foundation or use it for contouring and highlighting. In prosthetics, ensure the paint adheres well and blends seamlessly with the wearer’s skin.
Cosplay & Special Effects
Create realistic wounds, scars, or fantasy skin tones by layering and blending your paint. Experiment with textures and finishes to achieve the desired effect.
Conclusion
Making skin color paint is a rewarding process that allows for endless creativity and customization. By understanding the science of skin tones, choosing the right materials, and following a step-by-step mixing guide, you can achieve precise and lifelike results. Don’t be afraid to experiment and adjust your formula to suit your needs. Always prioritize safety, especially when using the paint on skin. With practice, you’ll master the art of creating perfect skin color paint for any application.
FAQ: Common Questions About Making Skin Color Paint
Can I use homemade skin color paint on my face?
Yes, but only if you use non-toxic, skin-safe ingredients. Always test a small patch of skin first to ensure no allergic reactions occur.
How do I make a lighter or darker shade?
To lighten, add white to your mixture. To darken, incorporate small amounts of dark pigments like burnt umber or black.
What’s the best base for prosthetic makeup?
Water-based or silicone-based paints are ideal for prosthetic makeup as they are safe, durable, and blend well with skin.
Why does my skin color paint look too pink or orange?
Neutralize overly pink or orange tones by adding a touch of green or blue to balance the undertones.
Can I store homemade skin color paint for later use?
Yes, store it in airtight containers to prevent drying or contamination. Keep it in a cool, dry place for best results.