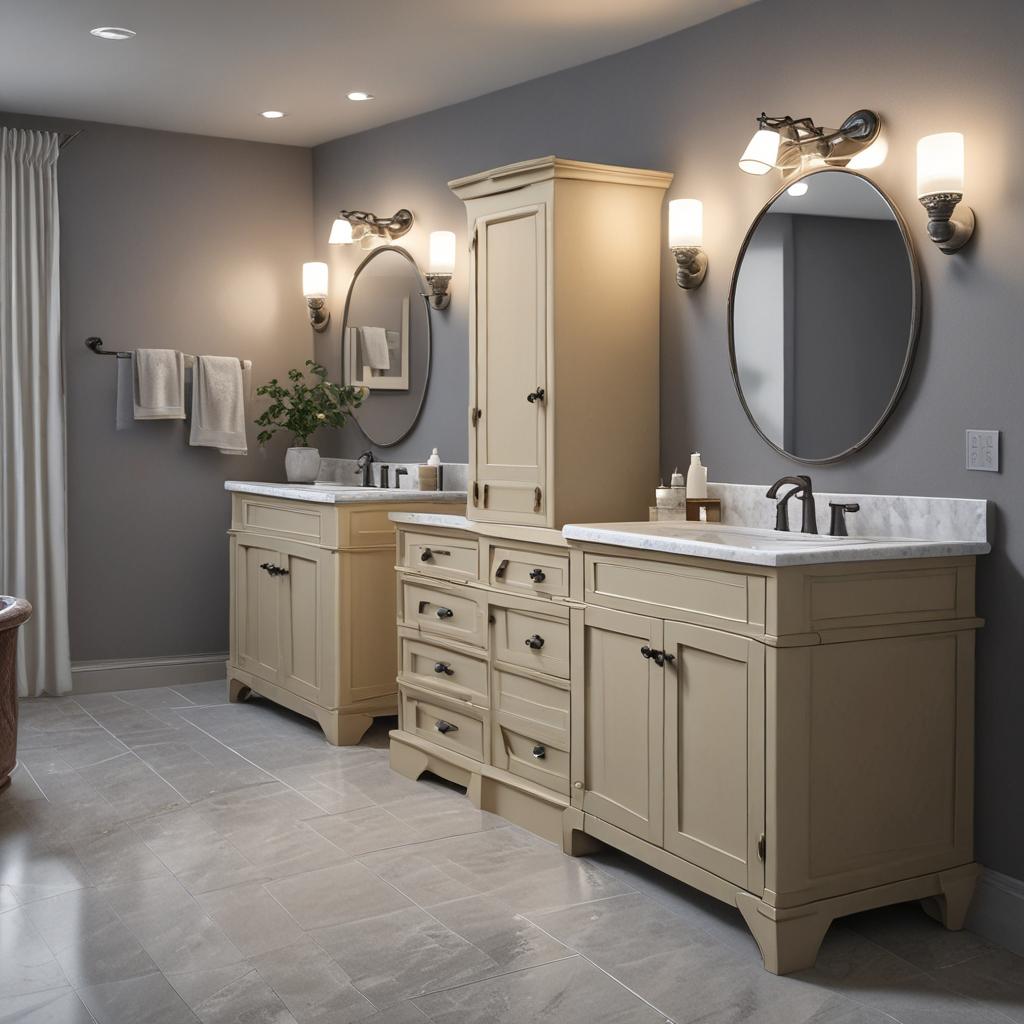
How to Paint Bathroom Cabinets
Tired of your outdated bathroom cabinets but can’t justify the cost of a full replacement? Painting your bathroom cabinets is an affordable and transformative DIY project that can breathe new life into your space. Whether your cabinets are worn, dated, or just need a fresh look, a quality paint job can make all the difference. Plus, it’s a fraction of the cost of new cabinetry—without sacrificing style. In this guide, we’ll walk you through every step, from preparation to the final finish, so you can achieve professional-looking results at home.
Preparation is Key: Getting Started
Before you grab a paintbrush, proper preparation is essential for a lasting finish. Skipping this step can lead to peeling, chipping, or uneven paint application. Here’s how to set yourself up for success.
Gather Your Materials
You’ll need the right tools and supplies to ensure a smooth process. Here’s what to gather:
- Degreaser or TSP (trisodium phosphate) cleaner
- Sandpaper (120-220 grit)
- Primer (oil-based or water-based, depending on your paint)
- Paint (latex, acrylic, or enamel for durability)
- Painter’s tape
- Drop cloths
- Paintbrushes or a mini foam roller
- Screwdriver (for removing hardware)
- Putty knife (for filling dents or holes)
- Wood filler (if needed)
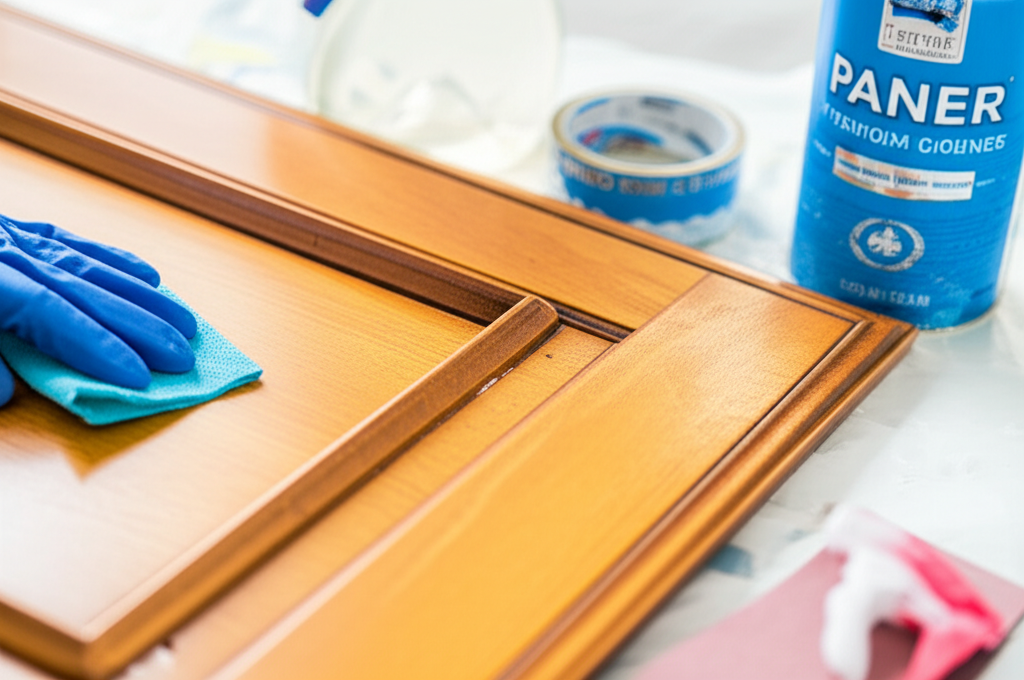
Remove Hardware and Clean Cabinets
Start by removing all cabinet doors, drawers, and hardware. Label each piece for easy reassembly later. Next, thoroughly clean the surfaces with a degreaser to remove grease, soap scum, and residue. A clean surface ensures the primer and paint adhere properly.
Sand the Surfaces
Lightly sand the entire cabinet surface, including doors and frames, to rough up the finish and help the primer bond. Wipe away dust with a damp cloth afterward. If there are any imperfections, use wood filler to patch them before sanding again for a smooth finish.

Priming for a Flawless Finish
Primer is a critical step, especially if your cabinets are made of laminate or have stains. It creates a smooth base for paint and prevents bleed-through. Apply a thin, even coat using a brush or roller, allowing it to dry completely before sanding lightly with fine-grit sandpaper for extra smoothness.
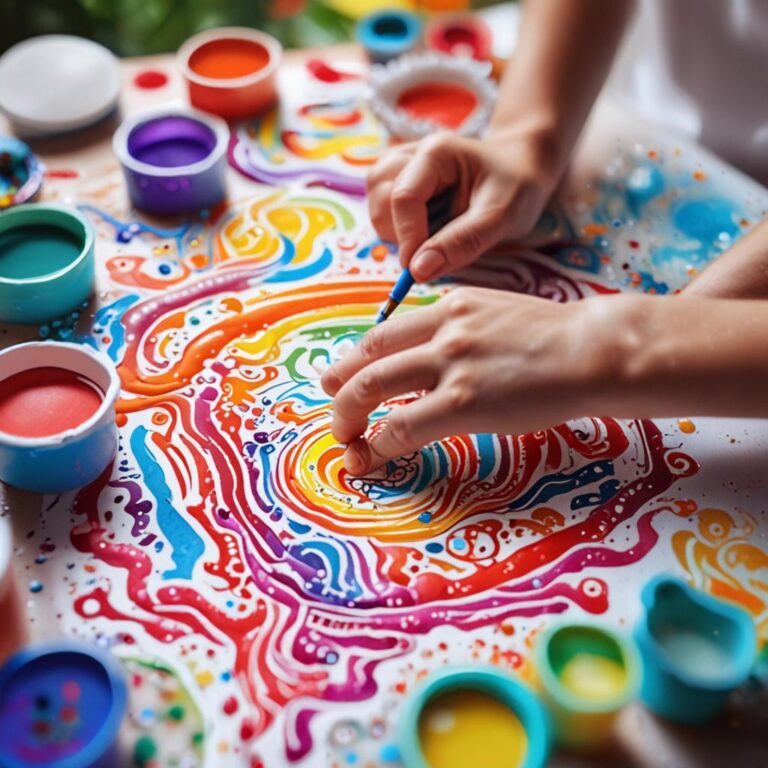
Painting Like a Pro
Now comes the fun part—painting! Choose a high-quality paint designed for cabinets, such as acrylic enamel or oil-based paint, for durability against moisture. Use a mini foam roller for large surfaces and a small angled brush for edges and details.
Apply Thin, Even Coats
Two thin coats are better than one thick one. Allow the first coat to dry completely before applying the second. This ensures even coverage and prevents drips or brush marks. If needed, lightly sand between coats for the smoothest finish.
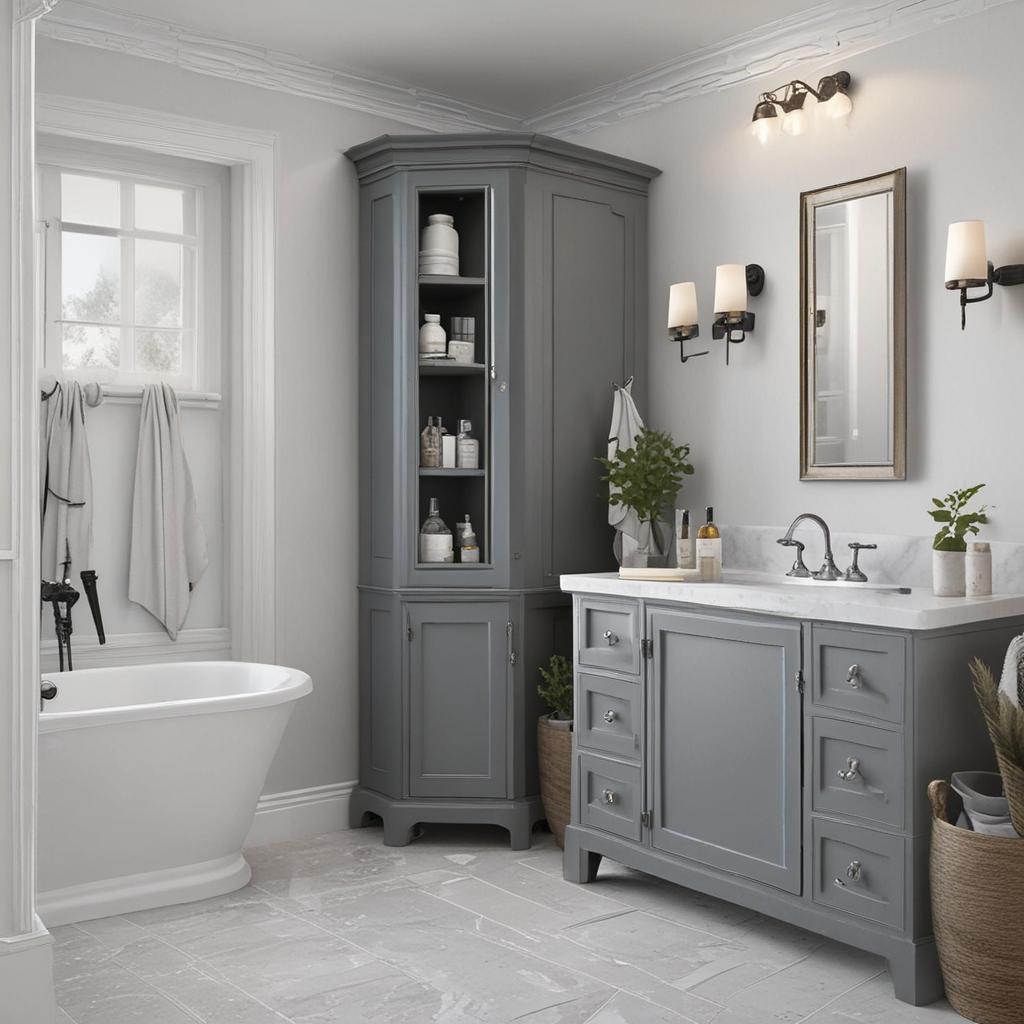
Reassemble and Enjoy
Once the final coat is fully dry (usually 24 hours), reattach the hardware and doors. Step back and admire your refreshed bathroom! With proper care, your newly painted cabinets will stay beautiful for years.
Conclusion
Painting bathroom cabinets is a budget-friendly way to give your space a modern upgrade. With the right preparation, primer, and paint, you can achieve a professional-looking finish without breaking the bank. Whether you opt for a bold color or a crisp neutral, this project is a game-changer for any bathroom makeover. So grab your supplies and get started—your dream bathroom is just a few brushstrokes away!