How to Paint Cupboards
Painting your cupboards is a transformative yet affordable way to breathe new life into your kitchen or any room with built-in storage. Whether your cabinetry is stained, outdated, or simply in need of a refresh, a fresh coat of paint can elevate the space dramatically. This guide walks you through the process, from preparation to finishing touches, ensuring you achieve a polished, professional result without the need for costly replacements.
Preparing to Paint Your Cupboards
Gather Your Supplies
Before starting, collect all necessary materials to avoid interruptions. Essential supplies include high-quality paint, primer, sandpaper (both coarse and fine grit), paint brushes, a roller and tray, drop cloths, painter’s tape, a degreaser or mild detergent, a vacuum, and a ladder or step stool. Optional tools like a paint sprayer or a putty knife for filling dents can also streamline the process.
Choose the Right Paint
For cupboards, durability is key. Latex-based paint is a popular choice due to its quick drying time and ease of cleanup, while oil-based paint offers a harder, more water-resistant finish. Opt for a satin or semi-gloss finish for kitchens, as these are easier to clean and resist moisture better than matte finishes.
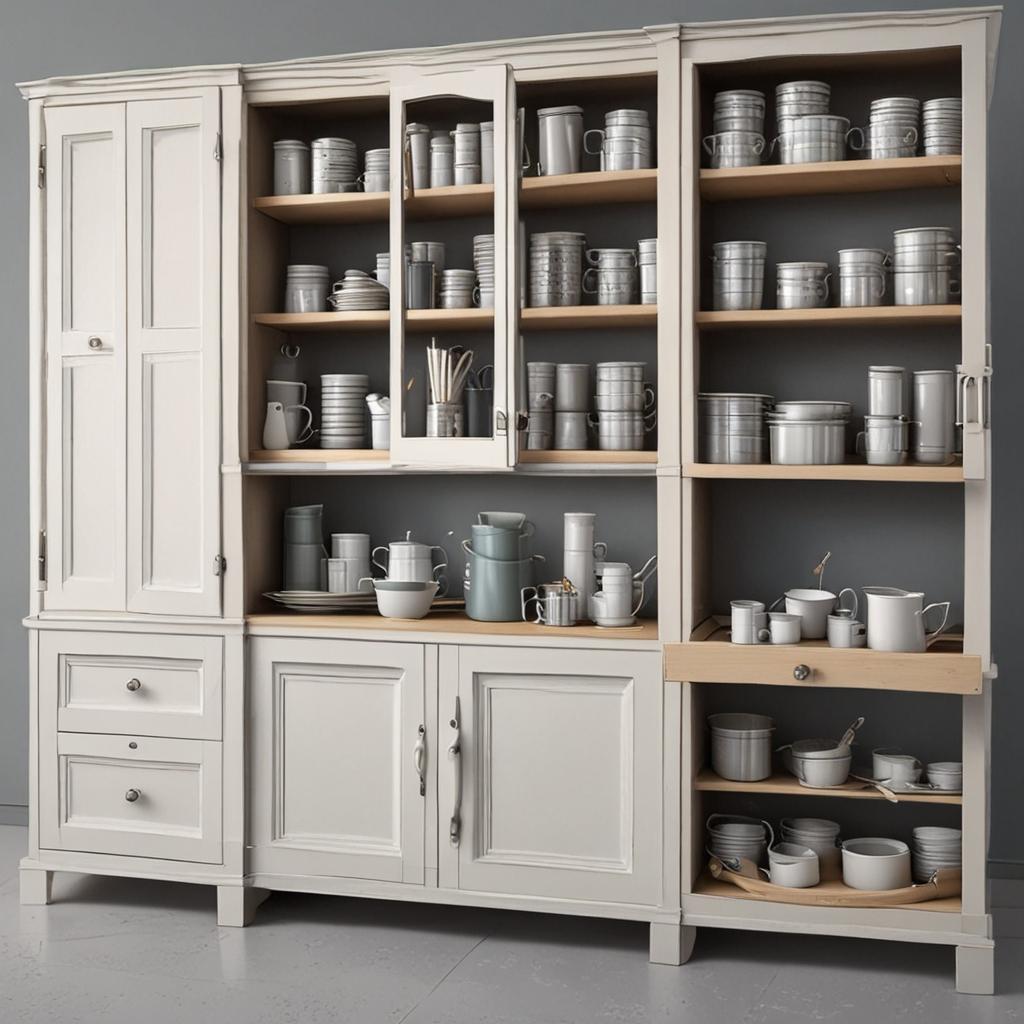
Clear the Workspace
Remove all cupboard doors, drawers, and hardware to create a manageable workspace. Label each door with its location using masking tape and a marker to simplify reassembly. Cover the floor and nearby surfaces with drop cloths, and ensure proper ventilation by opening windows or using fans. A clutter-free environment reduces the risk of accidental damage and allows for focused, efficient painting.
Step-by-Step Painting Process
Clean the Cupboards
Scrub surfaces thoroughly with a degreaser or warm soapy water to eliminate built-up grime and grease. Rinse with a damp cloth and let the wood dry completely. A clean surface ensures better paint adhesion and a smoother final result.
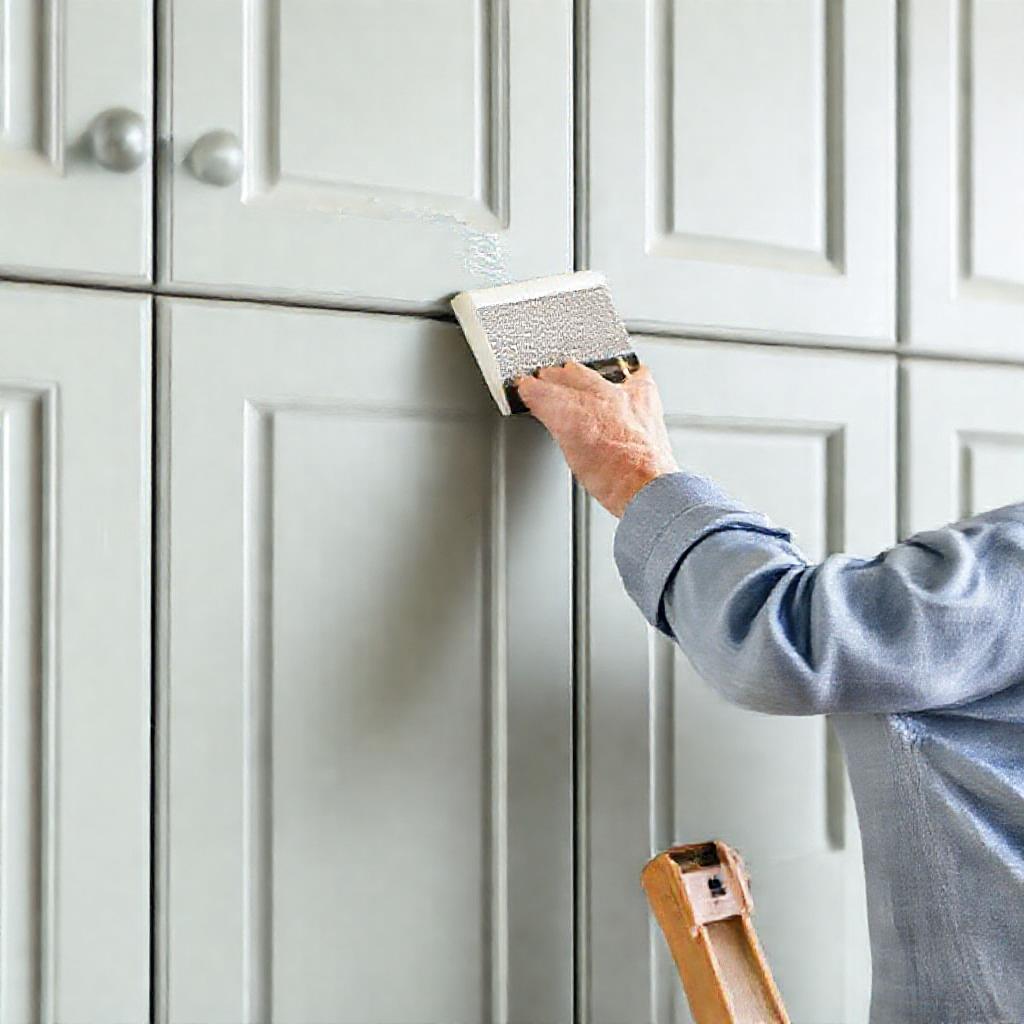
Sand the Surfaces
Use coarse sandpaper (around 120-150 grit) to roughen glossy or worn areas, then switch to fine-grit sandpaper (220 grit) for a smooth finish. Wipe away dust with a tack cloth or damp rag after sanding. This step is especially important for laminates or previously painted cabinets, as it helps the primer and paint bond effectively.
Apply Primer
Primer creates a uniform base and prevents the old finish from bleeding through. Apply it with a brush or roller in even strokes, focusing on edges and corners. Allow the primer to dry according to the manufacturer’s instructions before proceeding.
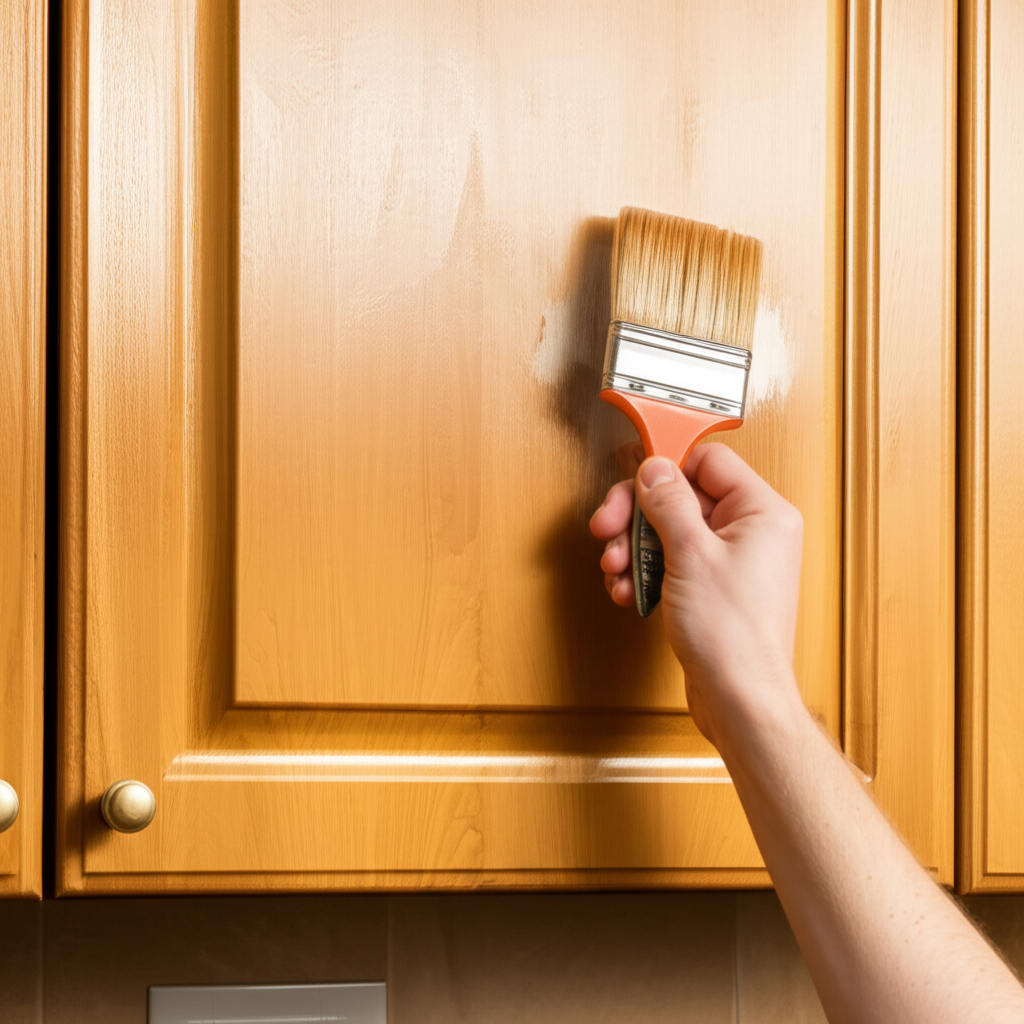
Paint the Cupboards
Work in thin, even coats to avoid drips and ensure a consistent finish. Begin with edges and trim using a brush, then cover larger areas with a roller. Let each coat dry completely before applying the next. For best results, use a high-quality brush with synthetic bristles for latex paint or natural bristles for oil-based paint.
Allow Proper Drying Time
Patience is critical. Rushing the drying process can lead to smudges or peeling. Follow the paint can’s recommended drying time between coats and before reinstalling hardware. Typically, two to three coats are needed for full coverage and durability.
Finishing Touches
Reattach Hardware or Install New Ones
Once the paint is fully cured (usually 24-48 hours), reattach knobs, handles, and hinges. Consider upgrading to new hardware for an instant style boost. Ensure all components are securely fastened to avoid future damage.
Inspect and Touch Up
Examine your work under bright light to spot any imperfections or missed areas. Use a small brush to touch up these spots with fresh paint. A final light sanding with 220-grit paper can help smooth out minor inconsistencies before adding a topcoat.
Protect the Finish
Seal your paint job with a clear topcoat of polyurethane or epoxy to enhance durability. This is particularly important for kitchen cupboards, which are exposed to moisture and frequent use. Allow the sealant to cure completely before using the cabinets.
Tips for a Professional Finish
Use High-Quality Tools
Investing in good brushes and rollers minimizes bristle shedding and streaks. A 2-inch angled brush works well for edges, while a mini-roller with a short nap is ideal for flat surfaces. These tools ensure smoother strokes and less cleanup.
Work in a Dust-Free Environment
Dust can settle on wet paint and create bumps. Cover floors and countertops with plastic sheeting, and use a vacuum with a HEPA filter to remove airborne particles. Avoid painting on windy days or in poorly sealed rooms.
Paint in the Right Conditions
Aim for temperatures between 50-85°F (10-29°C) and low humidity (below 50%) to ensure optimal drying. Avoid painting in direct sunlight or cold, damp conditions, as these can cause the paint to dry unevenly or form bubbles.
Common Mistakes to Avoid
Skipping Preparation Steps
Underestimating cleaning, sanding, or priming often leads to peeling or an unattractive finish. Take the time to prepare surfaces properly—this step accounts for 50% of the project’s success.
Applying Thick Coats of Paint
Thick paint layers are prone to dripping, cracking, and an uneven texture. Apply thin, even coats and use multiple layers for full coverage. Thin coats also dry faster and reduce brush strokes visibility.
Rushing the Drying Process
Allowing insufficient drying time between coats can trap moisture and compromise the paint’s integrity. If you’re in a rush, use a fan to improve airflow but avoid heat sources like hairdryers, which can cause rapid, uneven drying.
Ignoring Safety Precautions
Protect yourself by wearing gloves, a mask, and eye protection during sanding and painting. Ensure the room is well-ventilated, and keep children and pets away from the workspace until the paint is fully dry.
Conclusion
Painting your cupboards requires careful preparation, the right tools, and a bit of patience, but the results are well worth the effort. By following this step-by-step guide, you can achieve a fresh, modern look that aligns with your home’s aesthetic. Don’t hesitate—start with a small section to build confidence, and soon you’ll have a newly revitalized space you can be proud of.
FAQ Section
-
-
-
Can I paint over laminate cupboards?
-
-
Yes, but you must clean, sand, and apply a bonding primer to ensure the paint adheres properly to the glossy laminate surface.
-
How long does it take to paint cupboards?
Most projects take 2-3 days when factoring in cleaning, sanding, primer and paint drying times. Rushing the process can lead to poor results.
-
Do I need to use a primer?
Primer is essential for adhesion and longevity. It also helps cover stains or uneven colors on the cabinets.
-
What’s the best paint for kitchen cupboards?
Use 100% acrylic latex or oil-based paint with a satin or semi-gloss finish for durability and easy cleanup in a high-moisture environment.
-
Can I paint cupboards without removing the doors?
While possible, it’s not recommended. Removing doors and drawers allows for better access, thorough painting, and a more professional finish.