How to Replace a Door
Replacing a door might seem like a daunting task, but it’s a rewarding DIY project that can transform your home’s aesthetics, functionality, and energy efficiency. Whether you’re upgrading an outdated interior door or installing a weather-resistant exterior one, this guide will walk you through the process step-by-step. While hiring a professional is always an option, tackling the job yourself can save money and allow for customization. Don’t worry—even if you’re a beginner, with the right tools and a bit of patience, you’ll have a new door installed in no time. Let’s dive into the essentials of door replacement, from understanding the basics to mastering the installation process.
Understanding Door Replacement Basics
Do You Know the Difference Between Interior and Exterior Door Replacement?
Replacing an interior door often focuses on style and functionality, while exterior doors require weather resistance and durability. Interior doors are typically lighter and easier to install, making them a great starting point for DIYers. Exterior doors, on the other hand, must withstand the elements and may require additional steps like weatherstripping and insulation. If you’re dealing with a complex exterior door or local building codes, hiring a professional might be the safer choice.
Pre-Hung vs. Slab Doors: Which Is Right for You?
Comparison table for Pre-Hung vs. Slab Doors: Which Is Right for You?
Pre-hung doors come with a frame and hinges pre-installed, making them ideal for beginners. They’re easier to align and install, saving time and effort. Slab doors, which are just the door itself, are cheaper but require precise measurements and carpentry skills to fit into an existing frame. Consider your skill level and project requirements when choosing between the two.
Tools and Materials Needed
Essential Tools for Replacing a Door
To get started, you’ll need basic tools like a screwdriver, pry bar, level, measuring tape, and chisel. For more advanced projects, a circular saw, router, shims, and power drill can be invaluable. Having the right tools on hand ensures a smoother installation process and reduces the risk of mistakes.
Materials to Purchase for a Door Replacement Project
Besides the new door (pre-hung or slab), you’ll need hinges, screws, shims, wood filler, and paint or finishes. For exterior doors, don’t forget weatherstripping and a door seal to improve energy efficiency. Gathering all materials before starting the project will save time and help you stay organized.
Step-by-Step Guide to Replacing a Door
Step 1: Remove the Old Door and Frame
Begin by disassembling door hardware like knobs and hinges. Carefully remove the door without damaging the frame, especially if you’re reusing it. Inspect the frame for any damage or rot, particularly for exterior doors, as this can affect the installation of the new door.
Step 2: Measure the Doorway Accurately
Measure the height, width, and thickness of the existing door and frame. Be precise to avoid gaps or misalignment. Common mistakes include not accounting for uneven floors or walls, so double-check your measurements before purchasing a new door.
Step 3: Selecting the Right Replacement Door
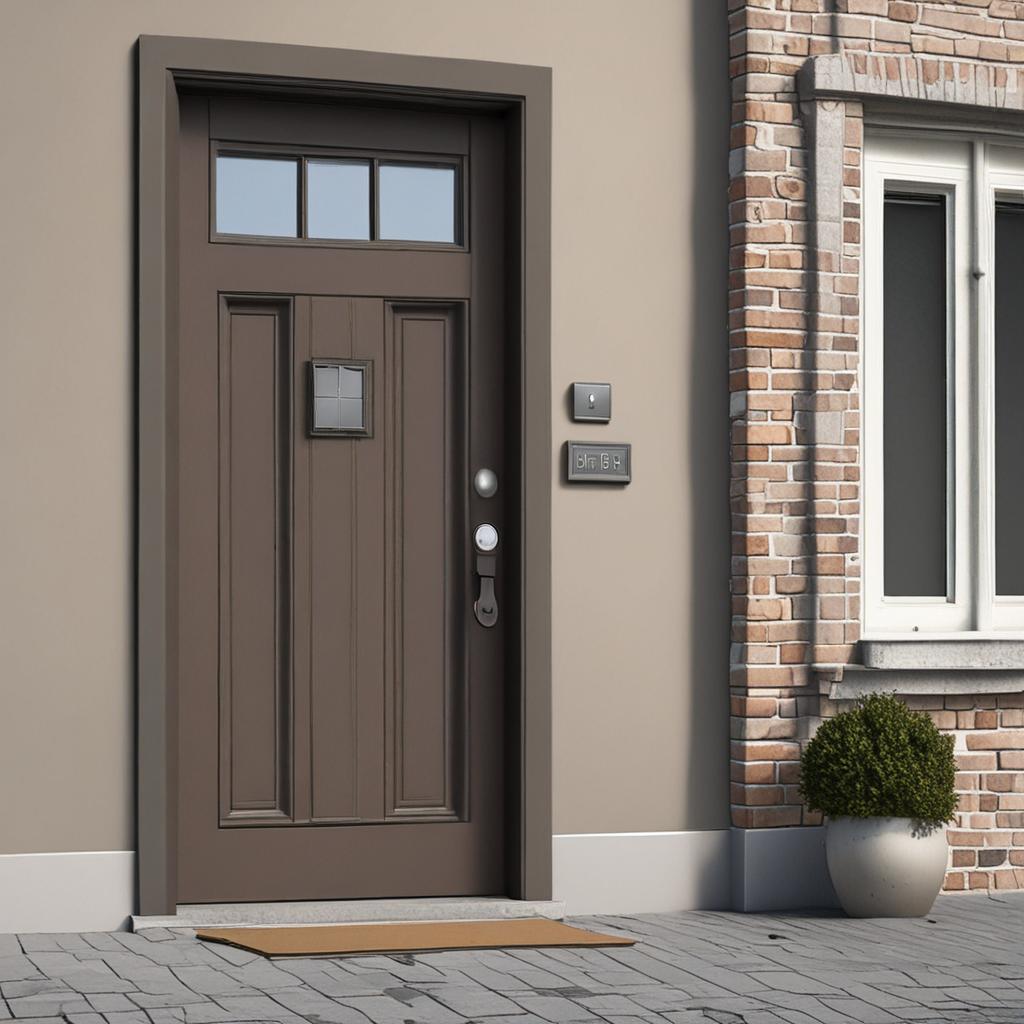
Choose a door that matches the dimensions of your existing frame. Consider materials like MDF, solid wood, or steel based on your budget and durability needs. Don’t forget to check the swing direction (left or right hinge) to ensure the door opens correctly.
Step 4: Installing the New Door
For pre-hung doors, prepare the frame by shimming and aligning it properly. If you’re using a slab door, cut mortises for hinges and adjust for gaps. Secure the door in place and check for proper closure and alignment. This step may require patience and fine-tuning to get it just right.
Step 5: Finishing Touches
Once the door is installed, sand, paint, or seal it to match your home’s decor. Reinstall hardware like knobs and locks, and adjust door closers if necessary. These finishing touches not only enhance the door’s appearance but also ensure it functions smoothly.
Troubleshooting Common Issues
Why Your New Door Might Not Close Properly
If your door doesn’t close properly, adjust the hinges or frame to eliminate gaps. Use a level to check for alignment and recalibrate shims if needed. A crooked door can often be fixed with minor adjustments and patience.
How to Deal With an Uneven Floor or Wall
Uneven floors or walls can cause alignment issues. Use door jamb extensions or shims to compensate for irregularities. In extreme cases, you may need to adjust the floor or wall structure to ensure a perfect fit.
Cost and Time Considerations
How Much Does Door Replacement Cost?
The cost of door replacement varies based on the type of door and materials used. Interior doors typically range from $50 to $300, while exterior doors can cost $200 to $1,000 or more. DIY projects save on labor costs, but hiring a professional ensures expertise and compliance with building codes.
Time Required to Replace a Door
For beginners, replacing a door can take 4 to 8 hours, depending on the complexity of the project. Experienced DIYers can speed up the process by using pre-hung doors and planning tools in advance. Proper preparation is key to minimizing installation time.
Maintenance Tips for Your New Door
How to Maintain a Door’s Longevity
Regular cleaning and sealing are essential for maintaining your door’s appearance and functionality. Check hinges periodically for wear and adjust them as needed. For exterior doors, inspect weatherstripping and seals to prevent drafts and improve energy efficiency.
Replacing a door is a straightforward DIY project that can significantly enhance your home’s look and functionality. By following this guide, you’ll gain the confidence and skills needed to tackle the job successfully. Whether you’re upgrading an interior door or installing a weather-resistant exterior one, the effort is well worth the reward. Ready to get started? Share your experiences or ask questions in the comments below—we’d love to hear from you!
Frequently Asked Questions About Door Replacement
How do I measure for a new door?
Measure the height, width, and thickness of the existing door and frame, including allowances for gaps and adjustments. Double-check your measurements to ensure accuracy.
Can I replace a door without replacing the frame?
Yes, you can replace a door without replacing the frame if the frame is in good condition. However, if there’s rot or damage, a frame replacement is necessary.
What tools are essential for a DIY door install?
Basic tools include a screwdriver, pry bar, level, measuring tape, and chisel. Advanced tools like a circular saw, router, shims, and power drill can also be helpful.
How do I fix a door that sticks after replacement?
Sand the door edges, adjust the hinges, or check for uneven floors or walls. Minor adjustments can often resolve sticking issues.
Is it cheaper to hire a professional or do it myself?
DIY projects save on labor costs but require time and effort. Hiring a professional ensures expertise and compliance with building codes, though it may be more expensive.

