How to Set Chamberlain Garage Door Opener
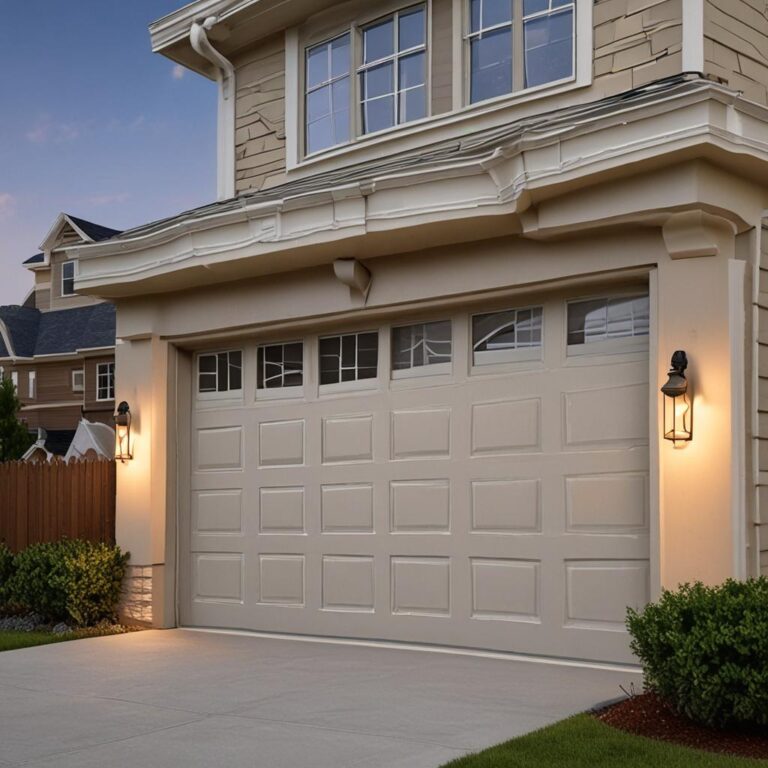
Setting up a Chamberlain garage door opener is a practical way to enhance your home’s security and convenience. Known for their reliability and advanced features, Chamberlain openers are a popular choice for homeowners. However, proper installation is crucial to ensure smooth operation and longevity. In this guide, you’ll learn how to set up your Chamberlain garage door opener step by step, from preparing the tools to troubleshooting common issues. Whether you’re a DIY enthusiast or a first-time installer, this guide will help you get the job done efficiently and safely.
Step-by-Step Process
Locate the Learn Button
Find the small ‘Learn’ button on the garage door opener motor.
Press the Learn Button
Hold the button until the LED light blinks.
Program the Remote
Press the remote button within 30 seconds of the LED blinking.
Verify Operation
Test the remote by pressing the button to open/close the door.
Repeat for Additional Remotes
Program extra remotes by repeating steps 2-4.
Process infographic for How to Set Chamberlain Garage Door Opener
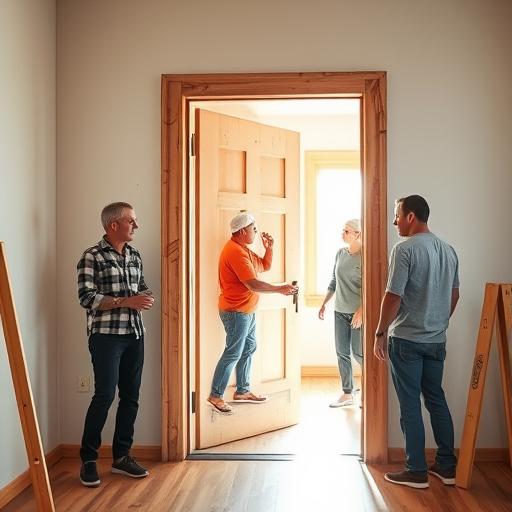
Preparing for Installation
Tools and Materials Needed
Before you begin, gather all the necessary tools and materials. You’ll need a screwdriver, ladder, measuring tape, and a drill. Additionally, ensure you have the brackets, screws, and safety sensors that come with the opener. Always check the user manual for model-specific requirements to avoid any surprises during installation.
Safety Precautions
Safety should be your top priority. Start by inspecting the garage door to ensure it’s in good working condition. Disconnect the power to avoid accidental activation during setup. Keep children and pets away from the work area to prevent accidents. Taking these precautions will make the installation process smoother and safer.
Step-by-Step Installation Process
Mounting the Opener to the Ceiling
Choose a suitable location on the ceiling for the motor unit. Attach the mounting bracket securely, ensuring it’s aligned properly. Make sure there’s enough clearance for the door to move freely without obstruction. A well-mounted opener is essential for smooth and reliable operation.
Attaching the Rail and Trolley
Extend the rail to fit the length of your garage door. Connect the trolley to the rail and adjust it to ensure smooth movement. Proper alignment of the rail is crucial to prevent jerky or noisy operation. Take your time to get this step right for optimal performance.
Installing the Safety Sensors
Place the safety sensors at the correct height on either side of the garage door. Wire them to the control panel and test their functionality. Sensors are a critical safety feature, so ensure they’re aligned properly and functioning as intended. This step helps prevent accidents and ensures compliance with safety standards.

Connecting the Garage Door to the Opener
Attach the arm to the garage door bracket and adjust the force and travel limits. Test the door’s opening and closing motions to ensure everything works smoothly. Proper adjustment prevents the door from reversing mid-cycle or stopping unexpectedly, ensuring reliable operation.
Programming the Remote Control & Keypad
Syncing the Remote Controller
Locate the “Learn” button on the motor unit and follow the programming sequence in the manual. Test the remote to ensure it’s working correctly. A properly synced remote provides convenient access to your garage, making daily life easier.
Setting Up the Wall Keypad
Mount the keypad in an accessible location near the garage door. Program a secure PIN code and test its operation. The keypad offers an additional layer of security, allowing you to control the door without a remote.
Troubleshooting Common Issues
Door Not Responding to Remote
Check the battery status and ensure there’s no signal interference. Reprogram the remote if necessary and test the opener’s antenna. Addressing these issues can restore functionality and ensure reliable operation.
Door Reversing Mid-Cycle
Adjust the force and travel limits to resolve this issue. Ensure the sensors are properly aligned and check for any obstructions. These adjustments can prevent the door from reversing unexpectedly, ensuring smooth operation.
Noisy or Rough Operation
Lubricate moving parts and check for loose hardware. Adjust the opener’s settings to reduce noise and improve performance. Regular maintenance can keep your garage door opener running smoothly for years.
Maintenance Tips for Longevity
Regularly test safety features to ensure they’re functioning correctly. Clean and inspect tracks and rollers to prevent wear and tear. Schedule professional servicing if needed to address any complex issues. Proper maintenance extends the lifespan of your garage door opener and ensures reliable performance.
Conclusion
Setting up a Chamberlain garage door opener may seem daunting, but with the right tools and guidance, it’s a manageable task. By following the steps outlined in this guide, you can ensure a secure and functional installation. Always prioritize safety and consult the manual for model-specific details. With proper setup and maintenance, your Chamberlain opener will provide years of reliable service, enhancing your home’s convenience and security.
FAQs
- Can I install a Chamberlain garage door opener by myself? Yes, but ensure you follow safety precautions and consult the manual.
- How do I know if my opener is compatible with my garage door? Check the manual or consult a professional to verify compatibility.
- Why does my garage door close but not open? Possible issues include sensor misalignment, remote battery failure, or motor problems.
- How often should I test my garage door safety sensors? Test them monthly to ensure they function correctly.
- Can I use a universal remote with a Chamberlain opener? Some models support universal remotes, but check compatibility first.