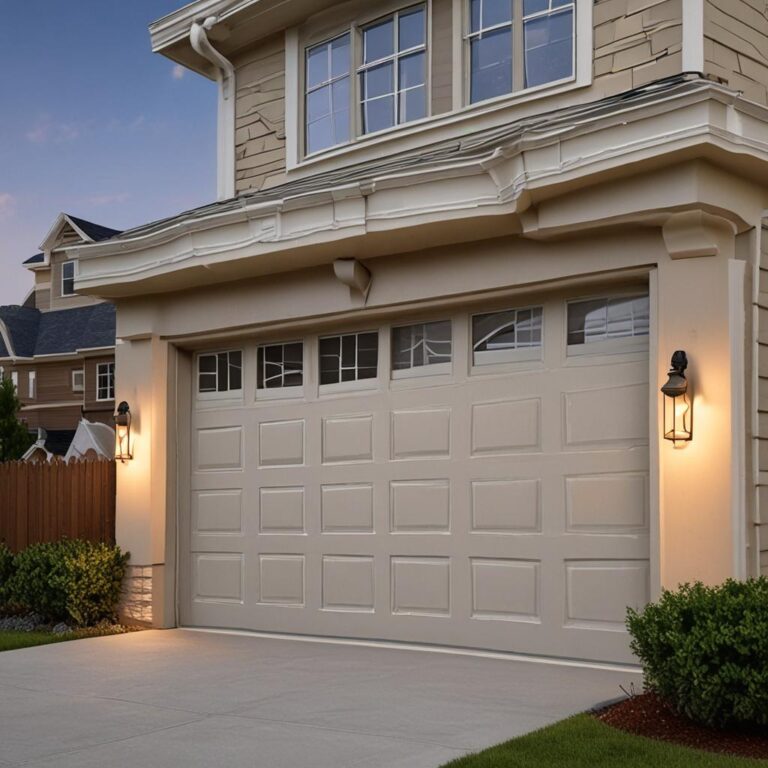
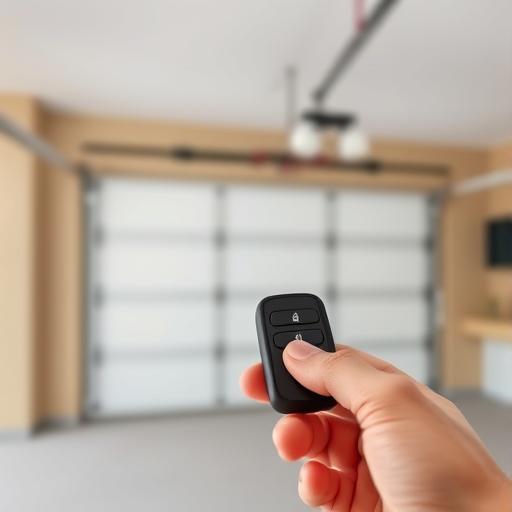
How to Set Chamberlain Garage Door Remote
A Chamberlain garage door remote is a convenient tool for controlling your garage door with ease and security. Whether you own a newer smart model like the Chamberlain MyQ or a traditional LiftMaster opener, setting up the remote ensures seamless access and enhances your home’s safety. This guide will walk you through the programming process step by step, making it simple to connect your remote to the garage door opener and avoid common pitfalls.
Preparing to Program Your Chamberlain Garage Door Remote
Gather Necessary Tools and Information
Before you begin, ensure you have the following items ready: your Chamberlain remote, the garage door opener unit, the user manual for both devices, and fresh batteries. Some models may require specific settings or additional tools, so check the manual for model-related instructions. If you don’t have the manual, you can often find it on the Chamberlain website by entering your remote’s model number.
Safety Precautions Before Programming
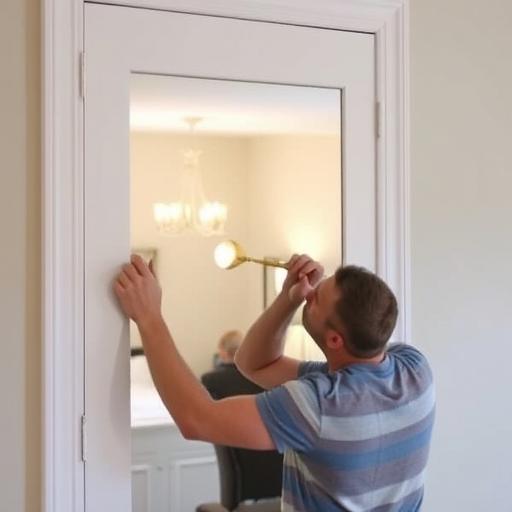
Always start with a closed garage door and confirm that it’s functioning properly without obstructions. Avoid touching any moving parts during programming to prevent injury. If your opener has a safety sensor issue or is misaligned, resolve it before proceeding to ensure smooth operation once the remote is set up.
Step-by-Step Guide to Programming a Chamberlain Remote
Identify Your Remote Model and Opener Type
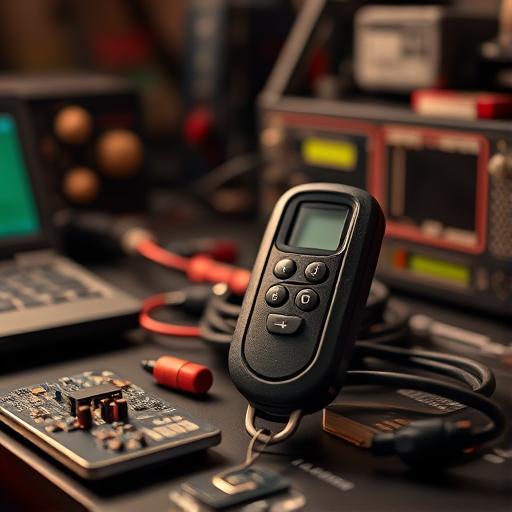
Locate your remote’s model number, usually found on the back or in the user manual. Determine whether your remote uses rolling-code technology (common in newer models) or a fixed-code system (older models). Rolling-code remotes, such as the Chamberlain MyQ, provide enhanced security by generating unique codes for each use, while fixed-code models rely on DIP switches for programming.
Clear Old Remote Codes (If Needed)
If your opener already has programmed remotes, you may need to clear previous codes before adding a new one. For rolling-code systems, press the “Learn” button on the opener’s motor unit until the light turns off. For fixed-code models, adjust the DIP switches to a non-matching position. Clearing old codes prevents unauthorized access and ensures a secure setup.
Programming the Remote to the Opener
For Rolling-Code Remotes (e.g., Chamberlain MyQ):
- Locate the “Learn” button on the opener (typically blue or green, near the antenna wire).
For Fixed-Code Remotes (Older Models):
- Check the DIP switches on the remote and opener, ensuring they match the same code.
Testing and Troubleshooting
After programming, test the remote by pressing its button and observing the garage door’s response. If it fails, check the batteries and ensure the remote is within range. Common issues include signal interference from nearby metal objects or incorrect DIP switch settings. Repeating the programming steps or repositioning the remote’s location often resolves these problems.
Advanced Programming Options
Connecting Multiple Remotes
Programming multiple remotes is simple. Repeat the “Learn” mode process for each device, ensuring your opener supports the number of remotes you’re adding. Always test each remote individually to confirm synchronization and proper function.
Using a Smartphone App (MyQ Smart Garage Hub)
The MyQ app allows you to control your garage door via Wi-Fi or 4G. To connect, download the app, create an account, and follow the in-app instructions to link your opener. Once paired, you can receive alerts, monitor activity, and operate the door remotely from anywhere with internet access.
FAQs About Chamberlain Garage Door Remote Setup
Why won’t my Chamberlain remote program to the opener?
Possible causes include incorrect model compatibility, dead batteries, or interference. Verify that the opener is in “Learn” mode and the remote is within range. If the issue persists, reprogram the opener or consult the user manual.
Can I program a Chamberlain remote to work with a different brand opener?
Chamberlain and LiftMaster remotes are often compatible due to shared technology. However, programming may not work with non-compatible brands like Genie or Craftsman. Always check the opener’s user manual for supported remote models.
How do I reset my Chamberlain garage door opener?
To reset, locate the “Reset” button on the motor unit (usually red), press and hold it for 5-10 seconds, then release. This restores factory settings, requiring you to reprogram all remotes and keypads.
What should I do if my remote has stopped working suddenly?
Replace the batteries first. If that fails, reprogram the remote or clear existing codes. Check for obstructions in the signal path and ensure the opener’s antenna wire is properly connected.
Is there a way to program a Chamberlain remote without the manual?
Yes. Visit the Chamberlain website and use the “Find Your Manual” tool by entering your remote’s model number. You can also search for general programming guides tailored to your remote type.
Conclusion
Programming a Chamberlain garage door remote requires careful preparation and adherence to the correct steps, whether you’re using a rolling-code or fixed-code model. Always test your remote thoroughly after setup and consult the manual or online resources for model-specific details. For further assistance, reach out to Chamberlain Customer Support or visit their website for updated guides and troubleshooting tips. Keep your garage secure and functional with these straightforward instructions.