How to Take Out a Door Handle
Removing a door handle might seem like a simple task, but it requires the right tools, techniques, and a bit of patience to get it done correctly. Whether you’re replacing a worn-out handle, upgrading your door hardware, or troubleshooting a stubborn mechanism, this guide will walk you through the process step-by-step. By following these instructions, you’ll save time, avoid unnecessary damage, and gain the confidence to tackle this common DIY project like a pro.
Essential Tools for Removing a Door Handle
Before diving into the removal process, it’s crucial to gather the right tools. Having the proper equipment on hand will make the job smoother and prevent frustration.
Basic Hand Tools
For most door handles, you’ll need a few basic tools:
- A flathead or Phillips screwdriver to remove screws.
Specialty Tools for Stuck Handles
If the handle is stuck or corroded, additional tools may be necessary:
- Penetrating oil like WD-40 to loosen rusted parts.
Preparing to Remove the Door Handle
Proper preparation ensures a smooth removal process and minimizes the risk of damage to the door or hardware.
Safety First
Always prioritize safety by wearing gloves to protect your hands and safety glasses to shield your eyes from debris. If the handle is located on a high door, use a stable ladder to reach it safely.
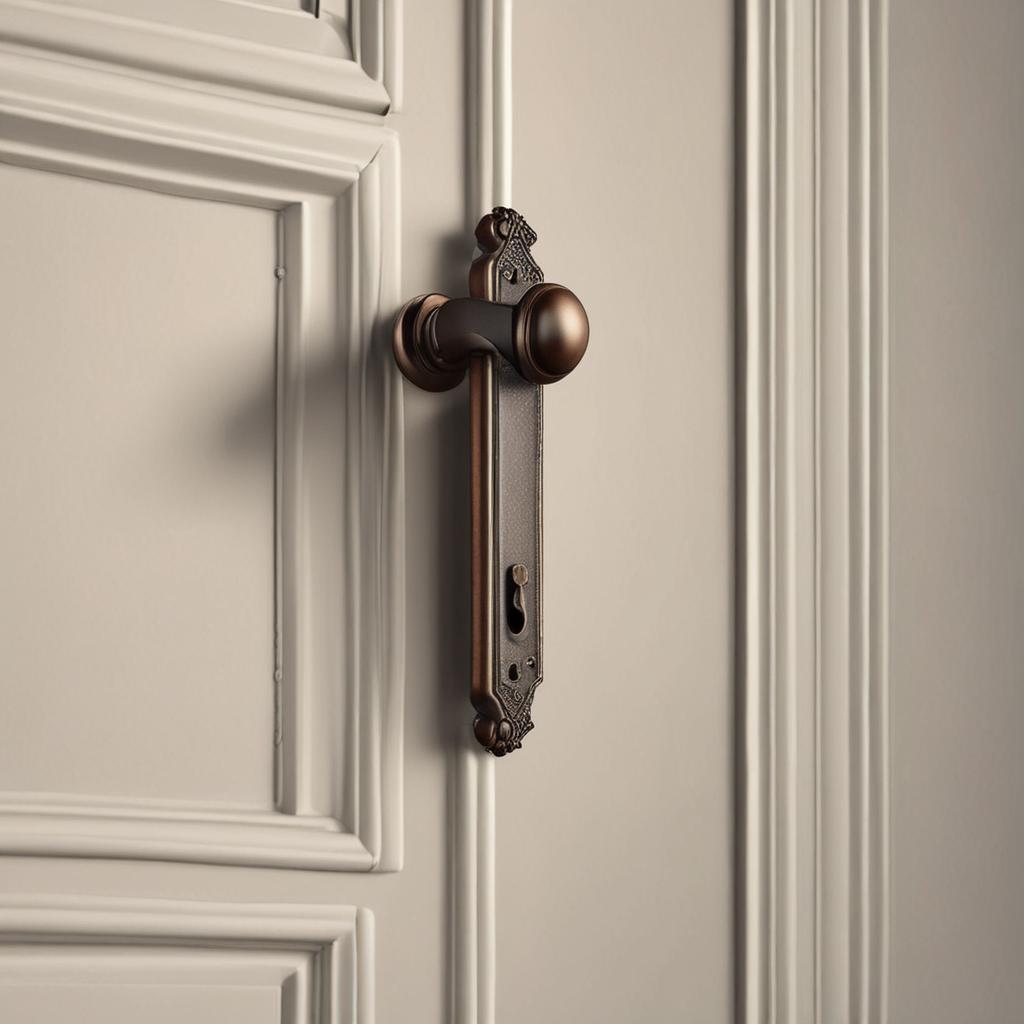
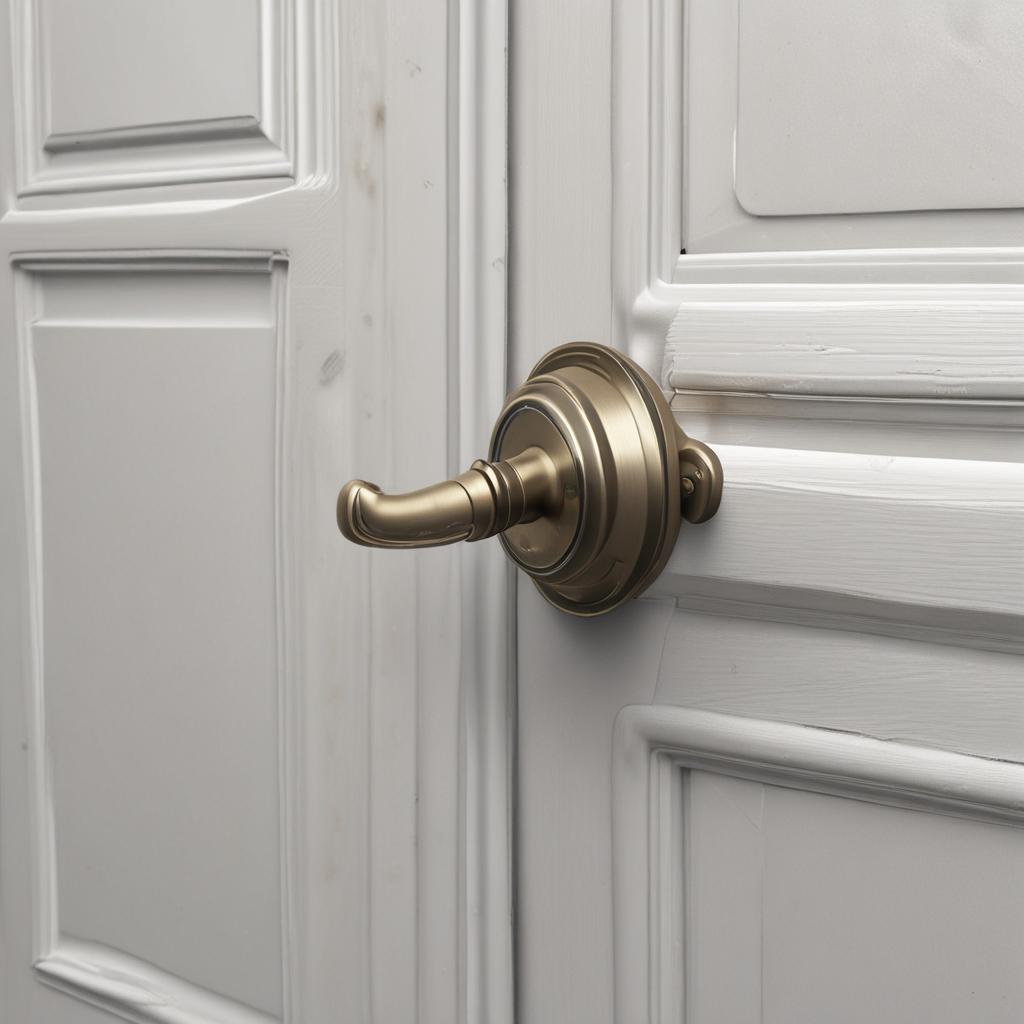
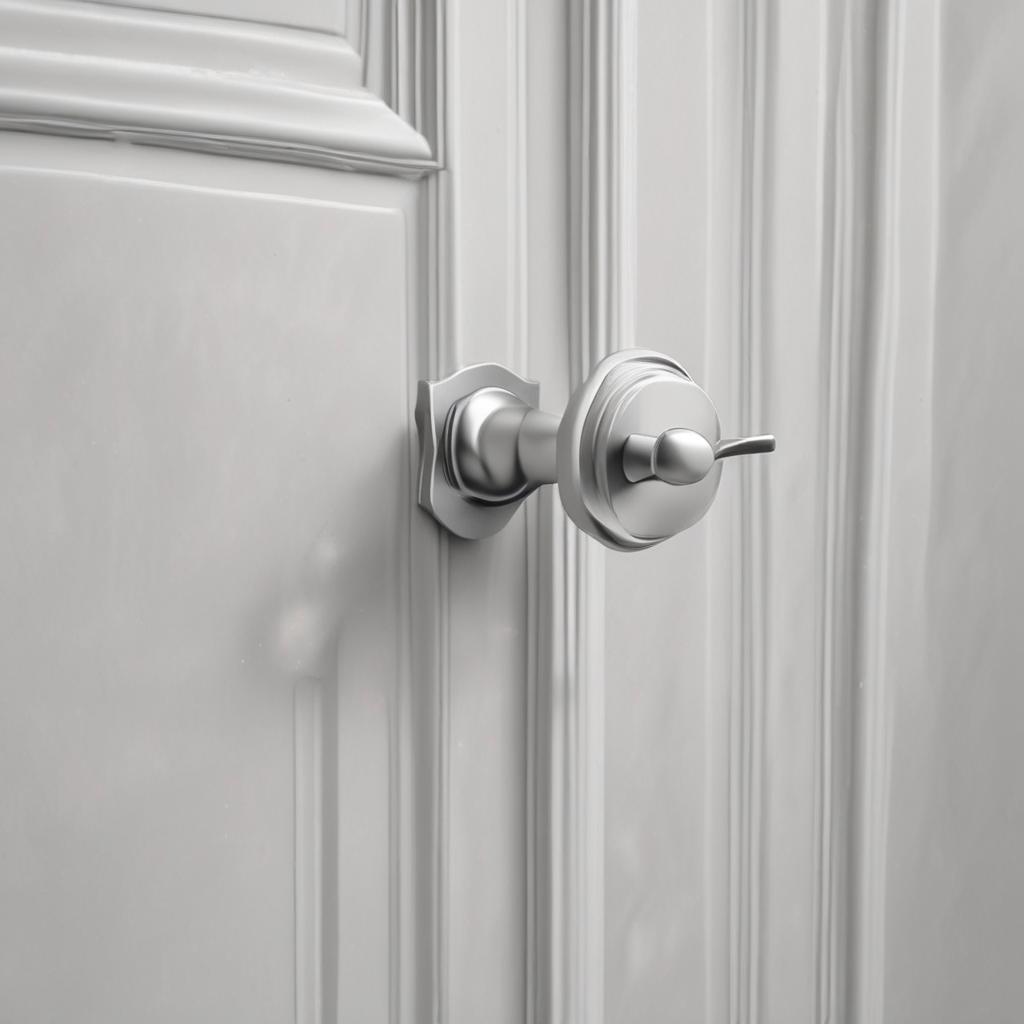
Identifying the Handle Type
Door handles come in various styles, including lever-style, knob-style, and mortise handles. Each type may require slightly different removal techniques, so take a moment to identify your handle before proceeding.
Removing the Cover Plate or Escutcheon
Many door handles have decorative cover plates or escutcheons that hide screws. Use a flathead screwdriver or utility knife to gently pry off these plates and access the underlying screws.
Step-by-Step Guide to Removing a Door Handle
With the right tools and preparation, removing a door handle is straightforward. Here’s how to do it for the most common types.
Progress Overview
Progress analysis for How to Take Out a Door Handle
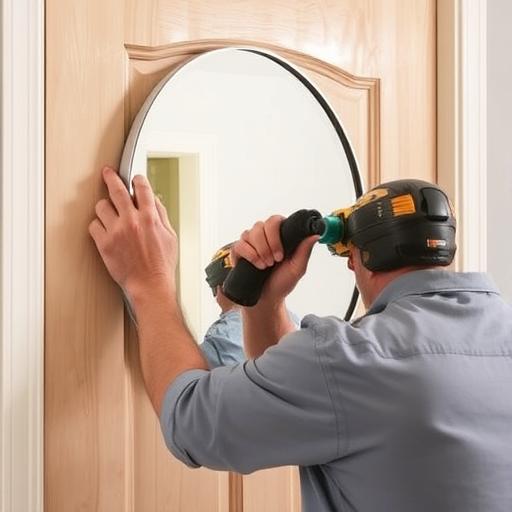
Standard Lever or Knob Handle Removal
Start by locating the set screw on the handle (usually on the side or underside). Loosen it with a screwdriver, then gently pull the handle off. If the handle doesn’t come off easily, check for additional screws or plates that may be securing it.
Stuck or Corroded Handle Solutions
For handles that are stuck due to rust or corrosion, apply a penetrating oil and let it sit for 10-15 minutes. If the handle still won’t budge, gently tap it with a mallet or use a door handle removal tool to coax it loose.
Reassembly or Replacement Tips
Once the handle is removed, you’ll need to decide whether to reattach it or replace it with a new one.
Cleaning and Inspecting Components
Clean the handle and other components with a mild cleaner. Inspect for wear or damage, such as stripped screws or misaligned parts, and lubricate moving components if you plan to reuse the handle.
When to Replace vs. Repair
If the handle is damaged or outdated, it’s often better to replace it. Look for signs like stripped screws, excessive wobbling, or difficulty turning the handle as indicators that it’s time for an upgrade.
Common Mistakes to Avoid
Avoid these pitfalls to prevent damage to your door or handle during the removal process.
Forcing the Handle Off
Using excessive force can bend or break the handle, damage the door, or strip screws. Always work gently and patiently.
Overlooking Hidden Screws
Some handles have screws hidden under decorative plates or caps. Double-check for these before attempting to remove the handle.
When to Call a Professional
While most door handle removals are DIY-friendly, some situations require professional expertise.
Complex Lock Systems
If your door has a mortise lock, smart lock, or high-security system, it’s best to call a locksmith to avoid damaging the mechanism.
Damage Risk to the Door or Frame
For antique doors or doors with significant damage, hiring a handyman or locksmith ensures the job is done safely and correctly.
Frequently Asked Questions (FAQ)
Here are answers to some common questions about removing door handles.
Can I use any screwdriver to remove the door handle?
It’s important to match the screwdriver type to the screw head (flathead or Phillips) to avoid stripping the screws.
What if the set screw is rounded or stuck?
Use a screw extractor or apply a lubricant like WD-40 to loosen the screw. If it’s severely damaged, you may need to replace it.
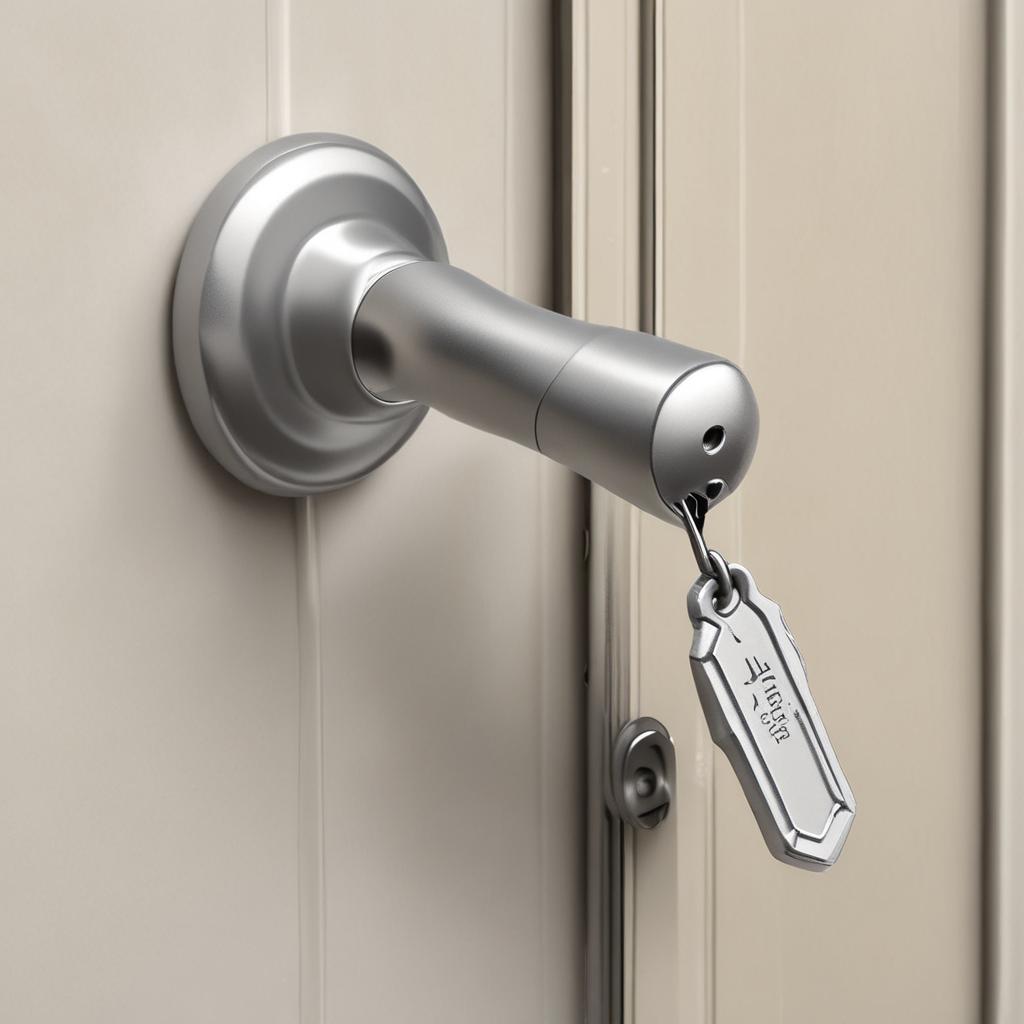
How do I remove a door handle without visible screws?
Check for a small hole or set screw on the side of the handle or under the cover plate. Some handles may require a special tool for removal.
Will removing the handle damage the door?
If done correctly, removing the handle shouldn’t damage the door. Work gently and test the handle after removal to ensure everything is intact.
Can I reattach the handle later without a new part?
Yes, as long as the components are undamaged and properly lubricated, you can reattach the handle without needing new parts.
Conclusion
Removing a door handle is a manageable DIY project when approached with the right tools and techniques. By following this guide, you’ll avoid common pitfalls and ensure a smooth process, whether you’re repairing, replacing, or upgrading your door hardware.
Final Checklist for Success
Gather your tools, prioritize safety, and follow the step-by-step instructions tailored to your handle type. Double-check for hidden screws and work patiently to avoid damage.
Preparing for the Next Steps
Once the handle is removed, clean and inspect the components, and decide whether to repair or replace. With these tips, you’re ready to tackle your next door handle project with confidence!